
티스토리 뷰
Xcode(버전11.3)를 이용하여 테이블 뷰 컨트롤러(Table View Controller) 할일 목록 앱을 만든다:)
- 앱 화면 구성
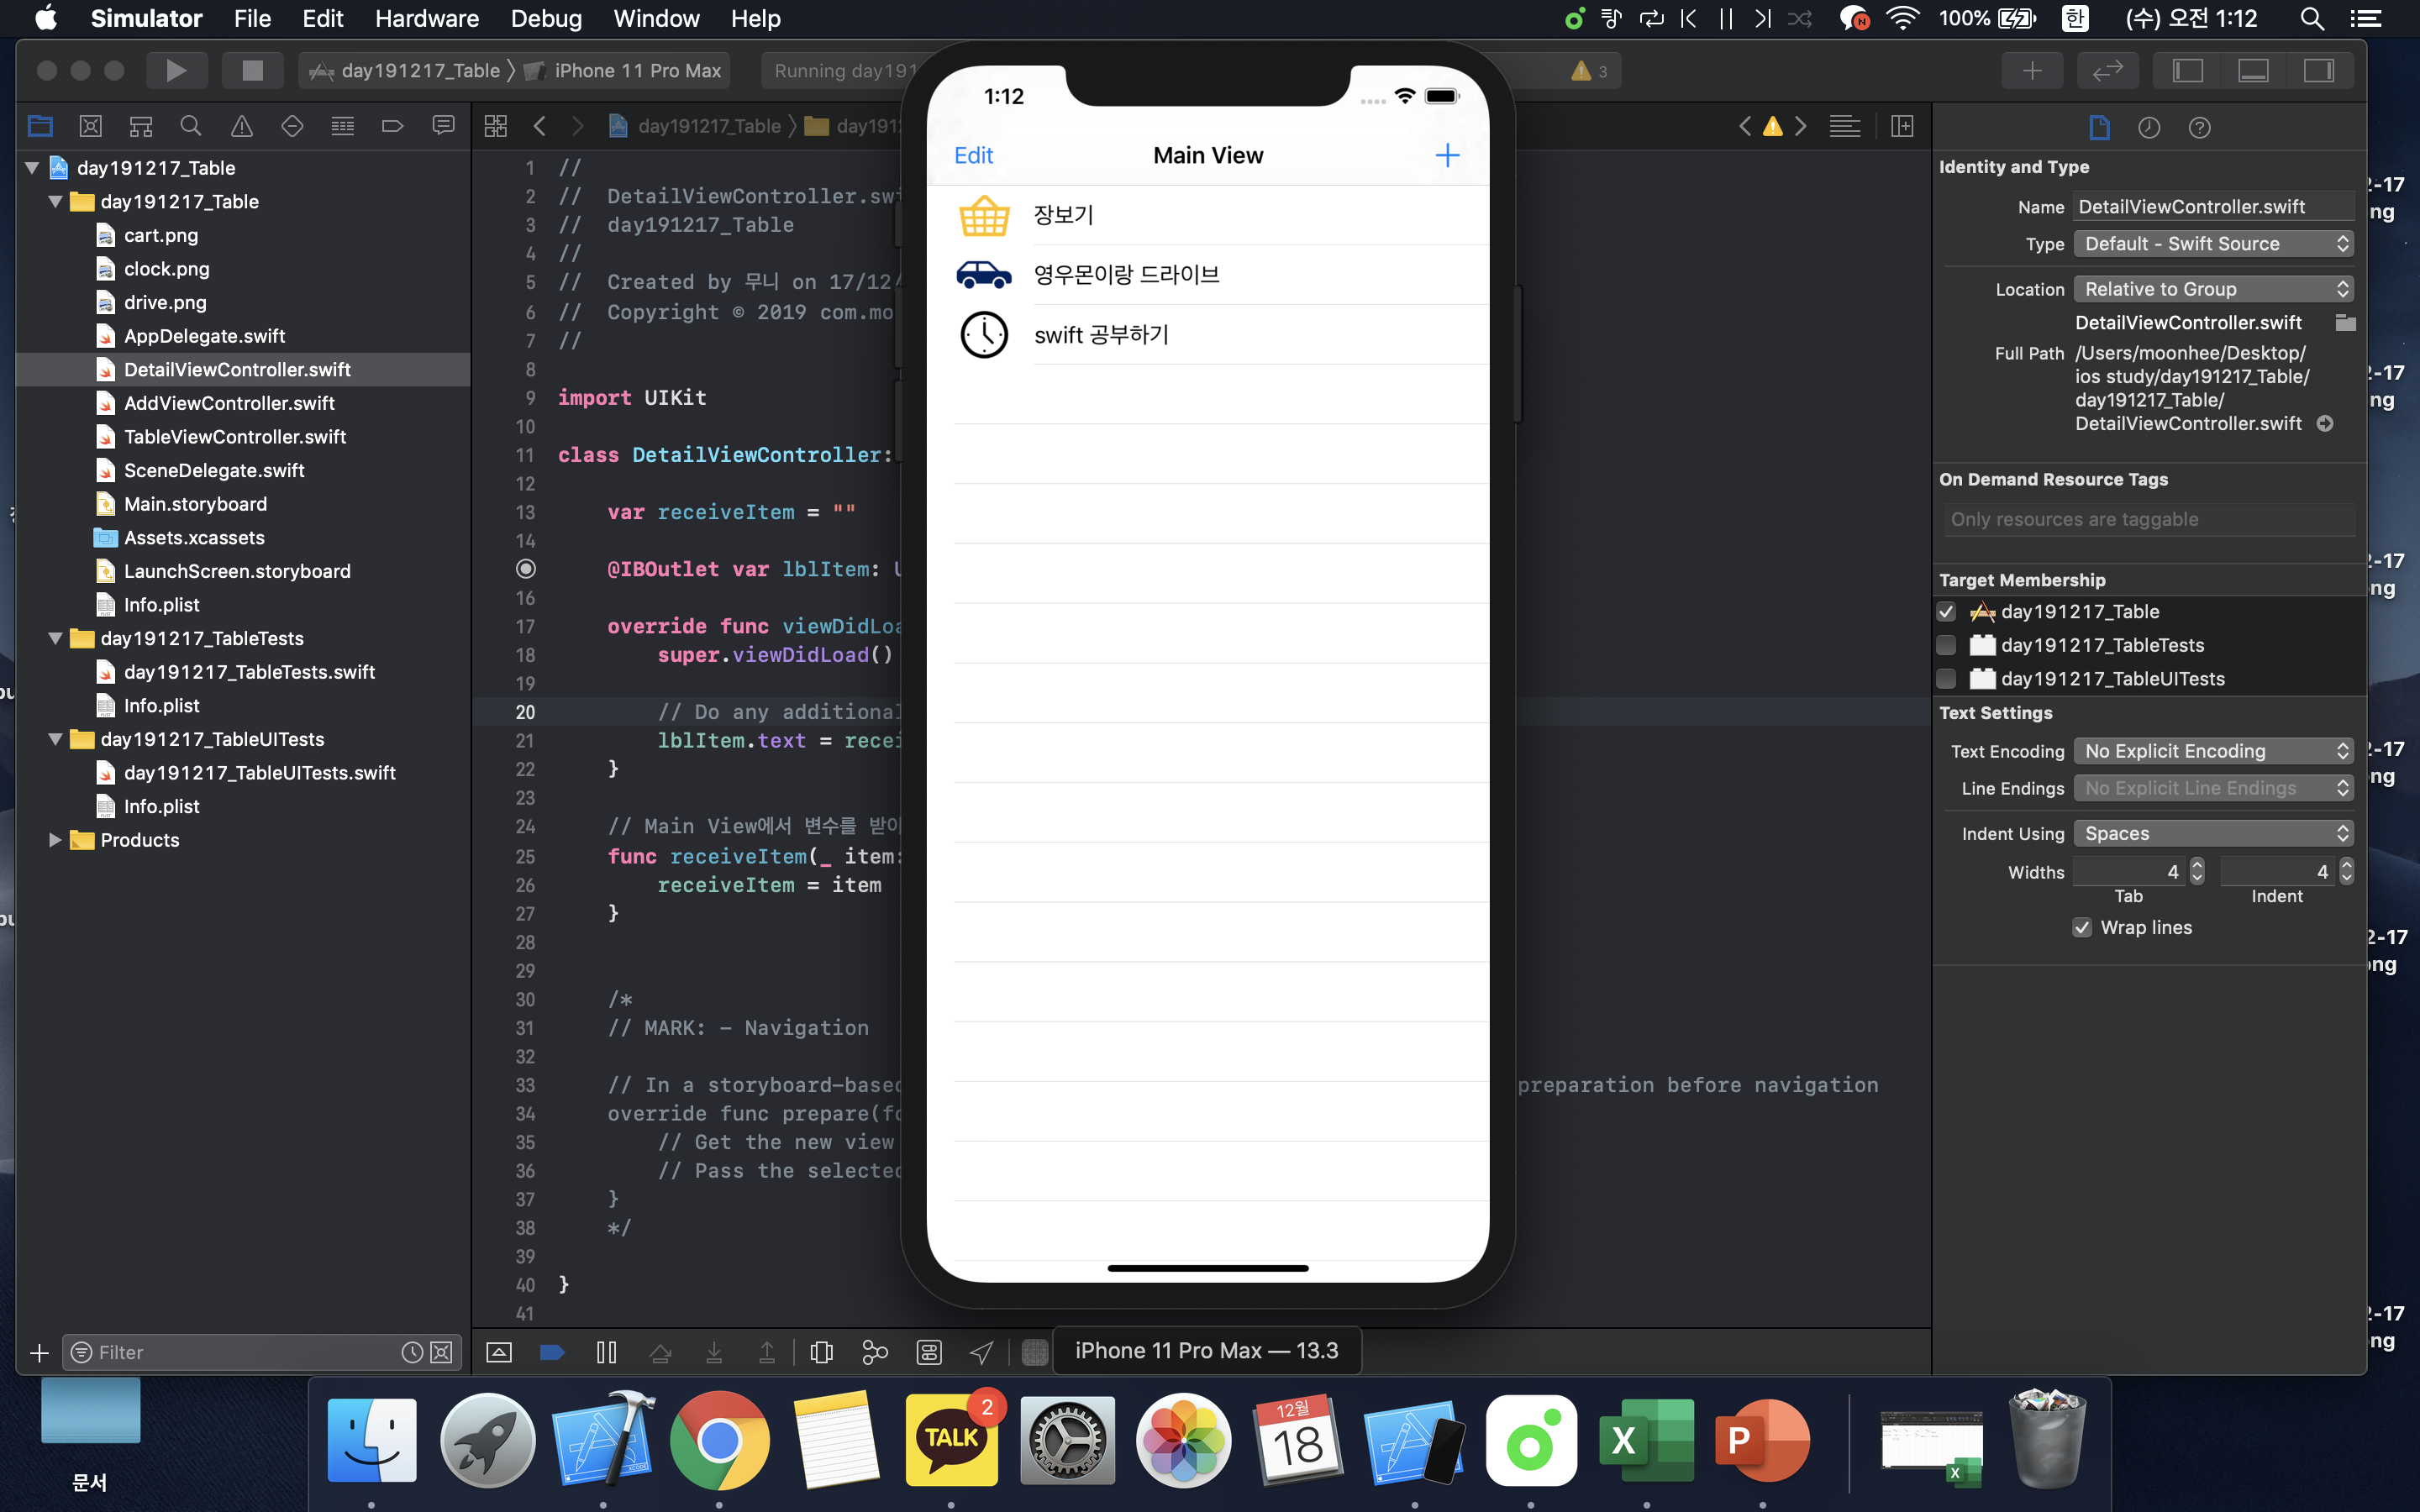
1) 할 일 목록을 보여주는 화면 (Main View)
2) 할 일을 추가화는 화면(Add View)
3) 목록 중 한 가지 할 일을 보여주는 화면(Detail View)


테이블 뷰 컨트롤러를 사용해야하므로 기존의 뷰 컨트롤러와 연결된 스위프트 파일을 삭제한다.
이번에는 스위프트 파일이 필요없기 때문에 'Move to Trash'를 클릭하여 삭제한다.


- 테이블 뷰 컨트롤러(Table View Controller) 추가


- 내비게이션 컨트롤러(Navigation Controller) 추가하기
테이블에 들어갈 새로운 리스트를 추가하고 리스트를 편집하려면 두 개의 뷰 컨트롤러가 필요하다.
이 두 개의 뷰로 화면을 전환하기 위해 내비게이션 컨트롤러를 추가한다.
Editor -> Embed in -> Navigation Controller

Navigation Controller -> Attributes Inspector -> View Controller -> 'ls Initial View Controller' 체크
앱이 실행될 때 처음으로 가야 할 뷰 컨트롤러를 내비게이션 컨트롤러로 선택


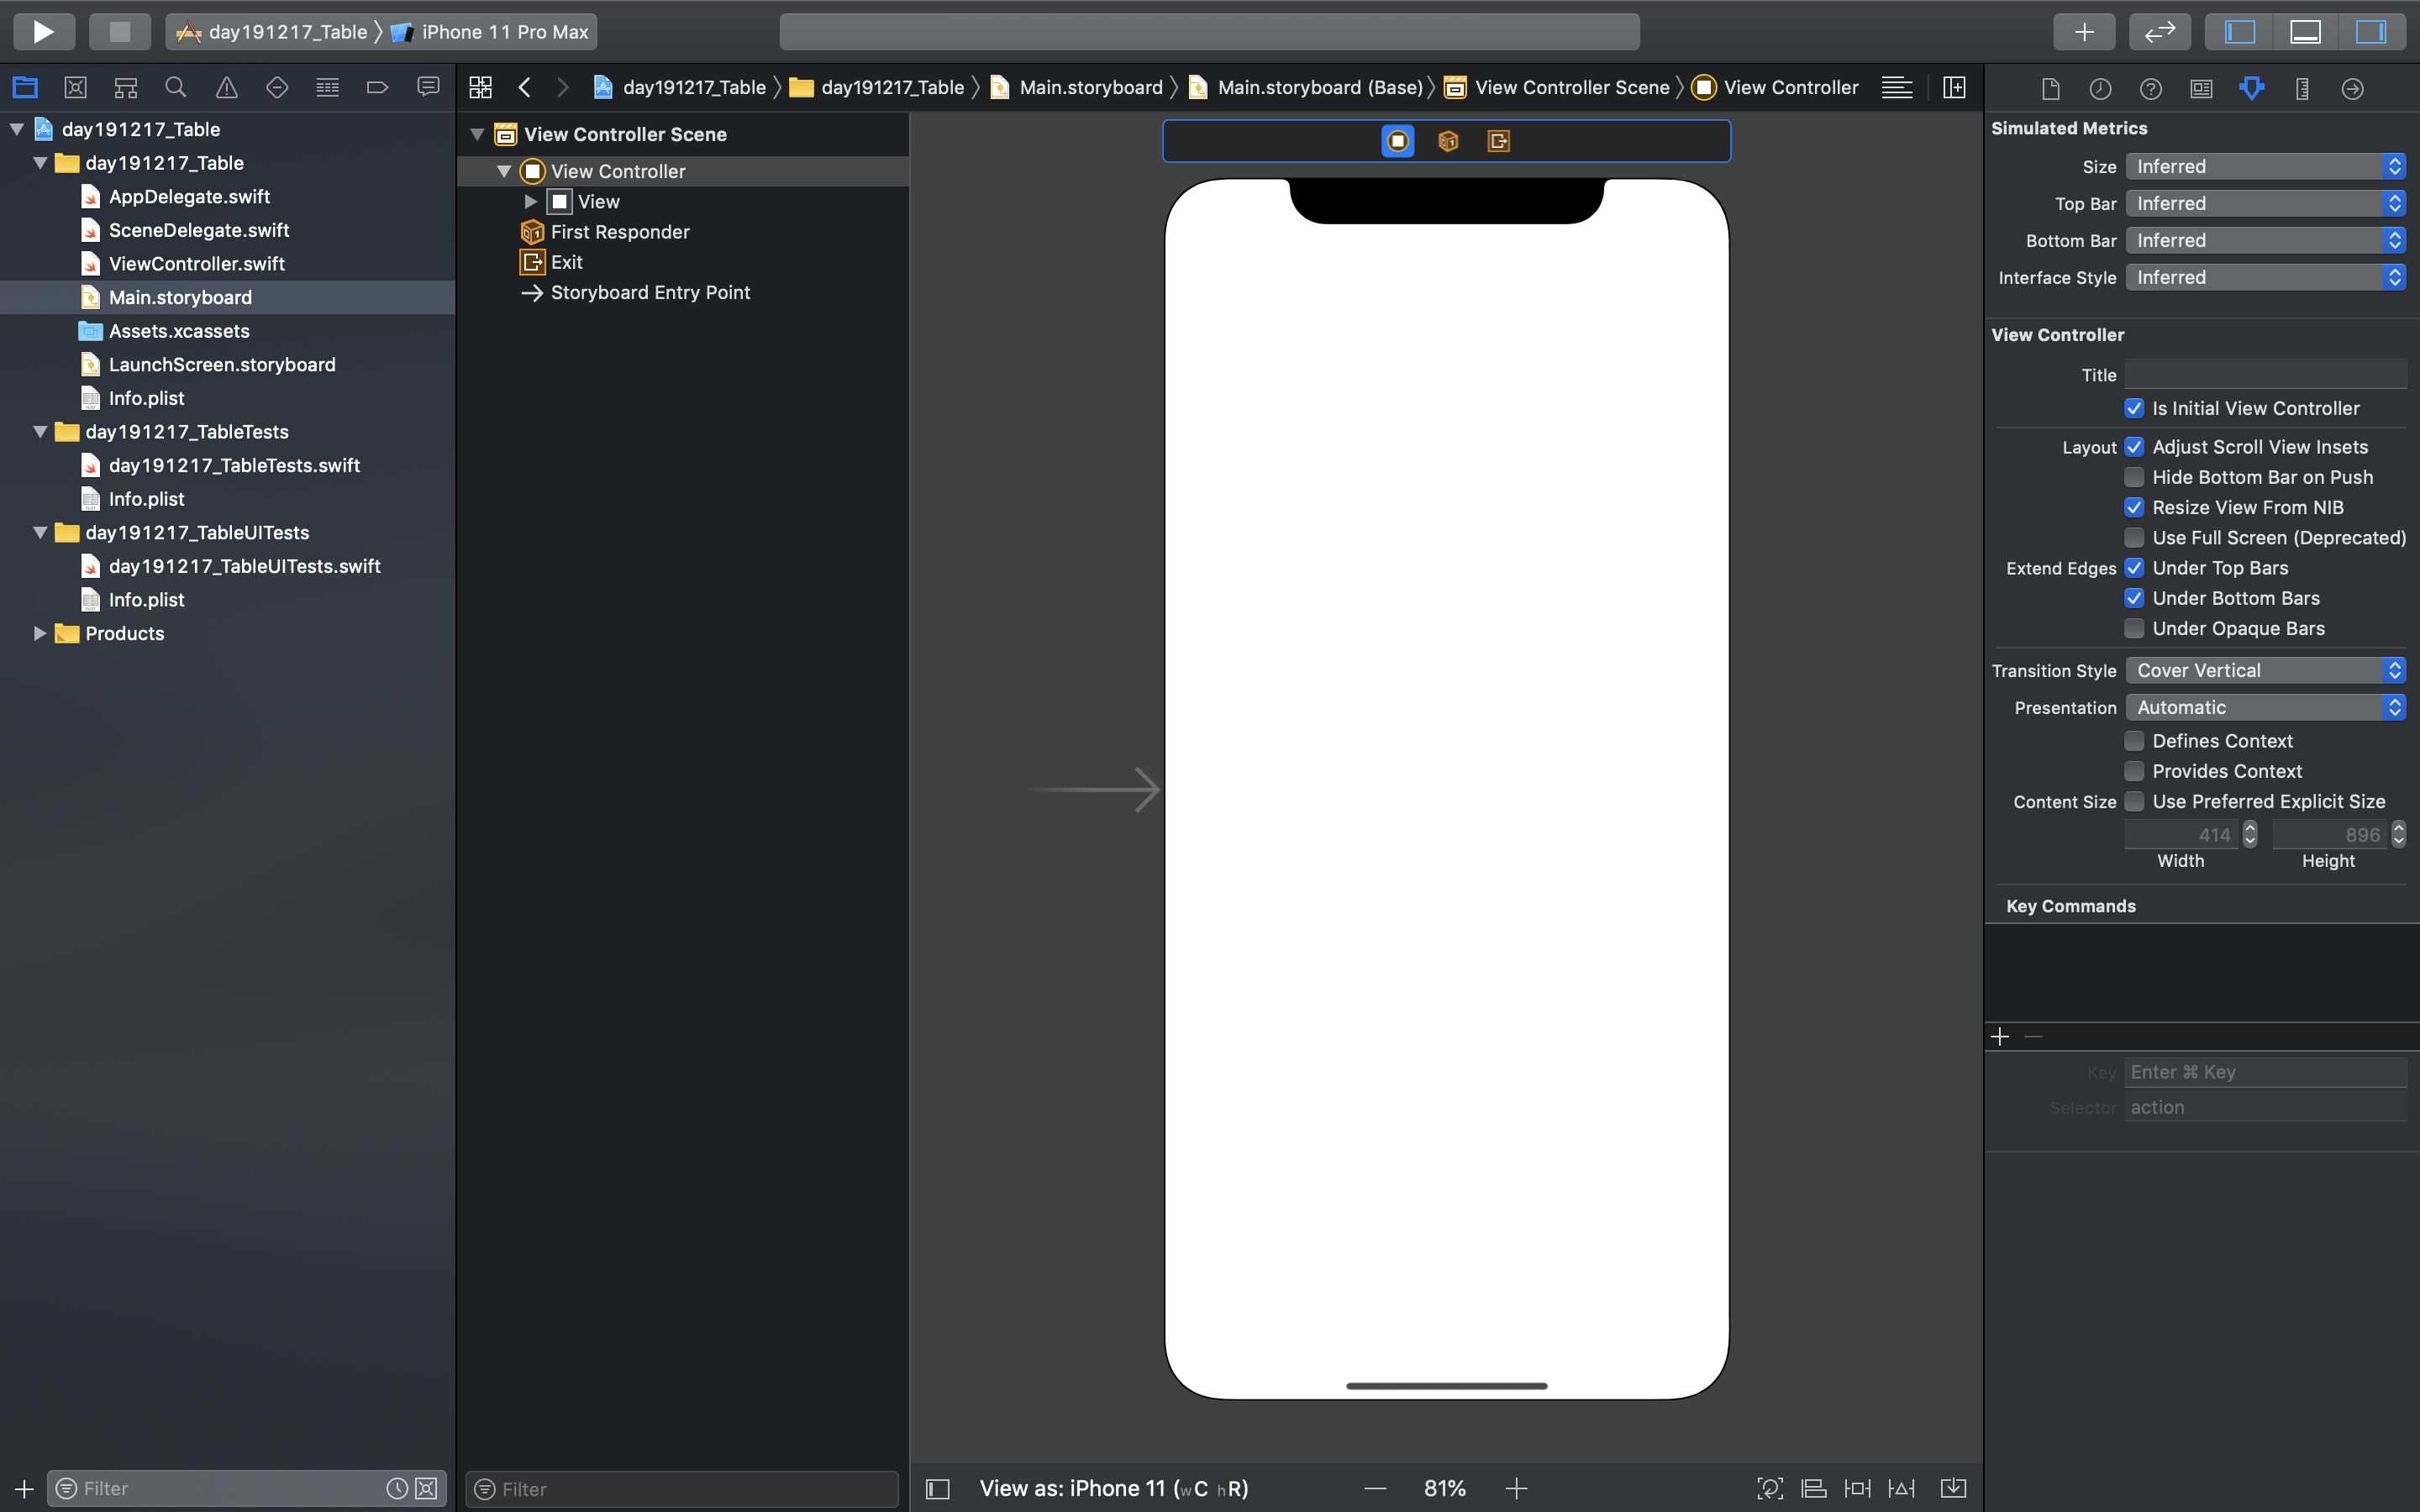
- 뷰 컨트롤러(View Controller) 추가하기
테이블 뷰 컨트롤러(Table View Controller) 오른쪽 위, 아래로 두 개를 추가한다.

- 뷰 전환 추가하기
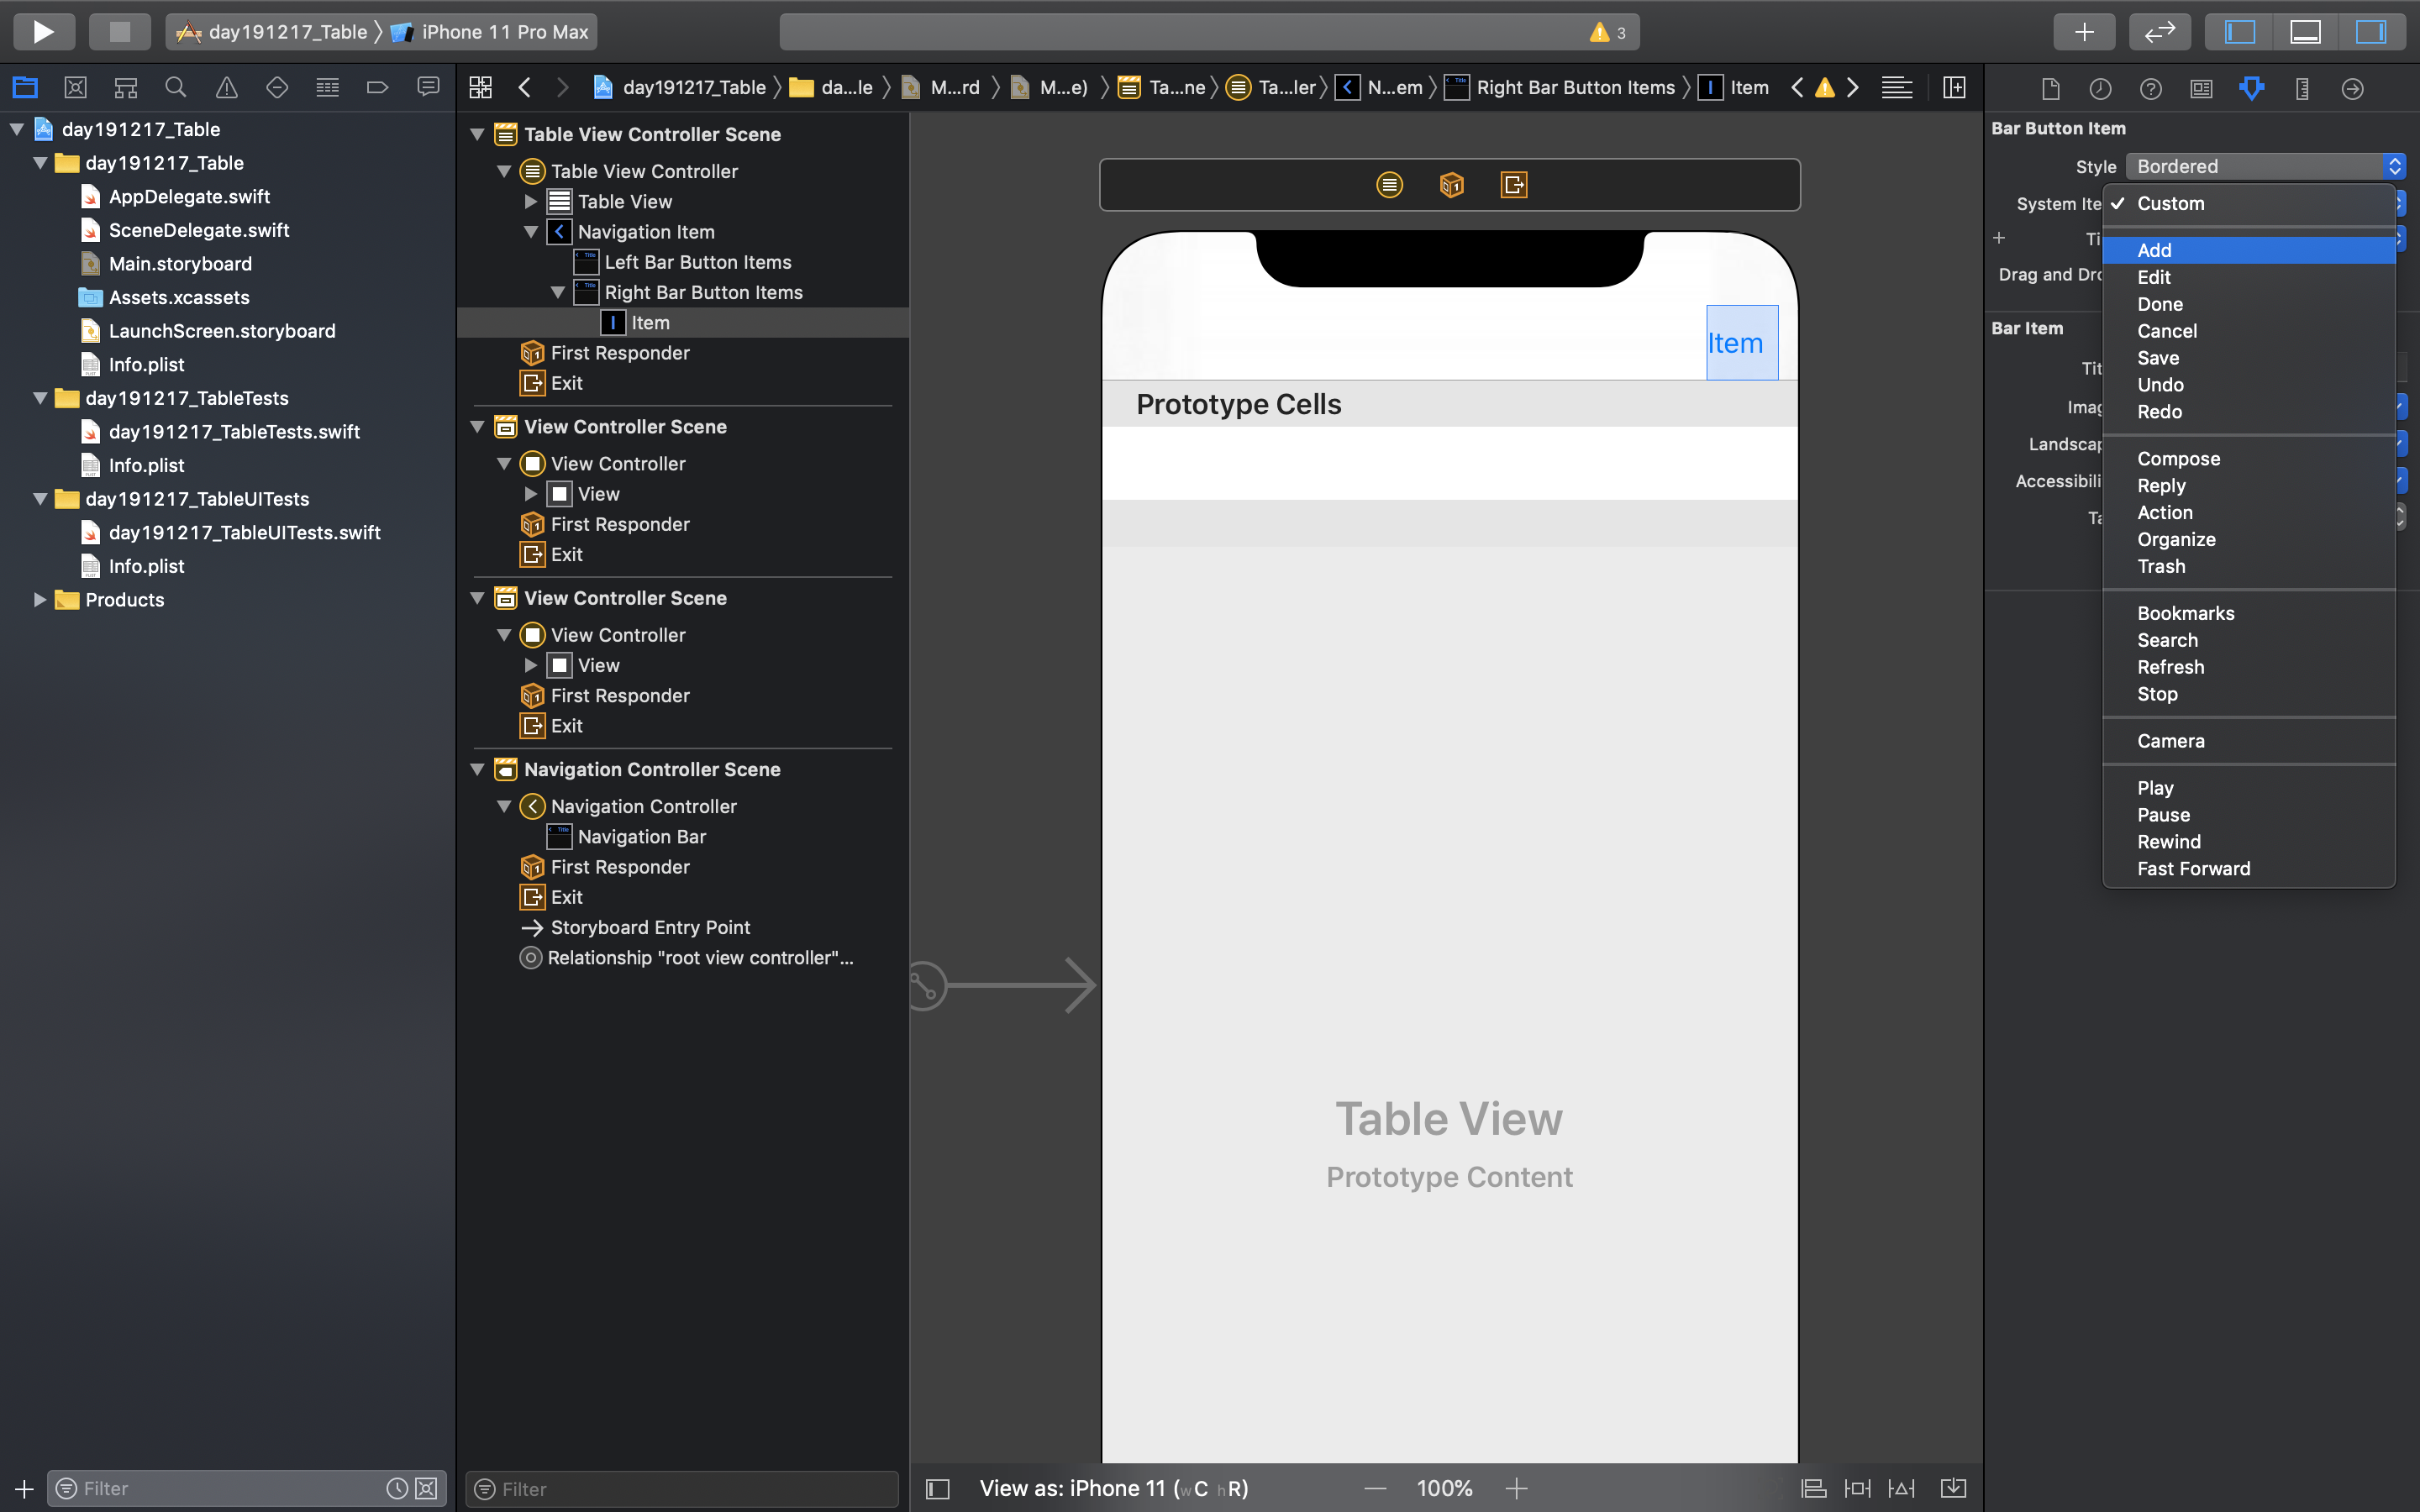
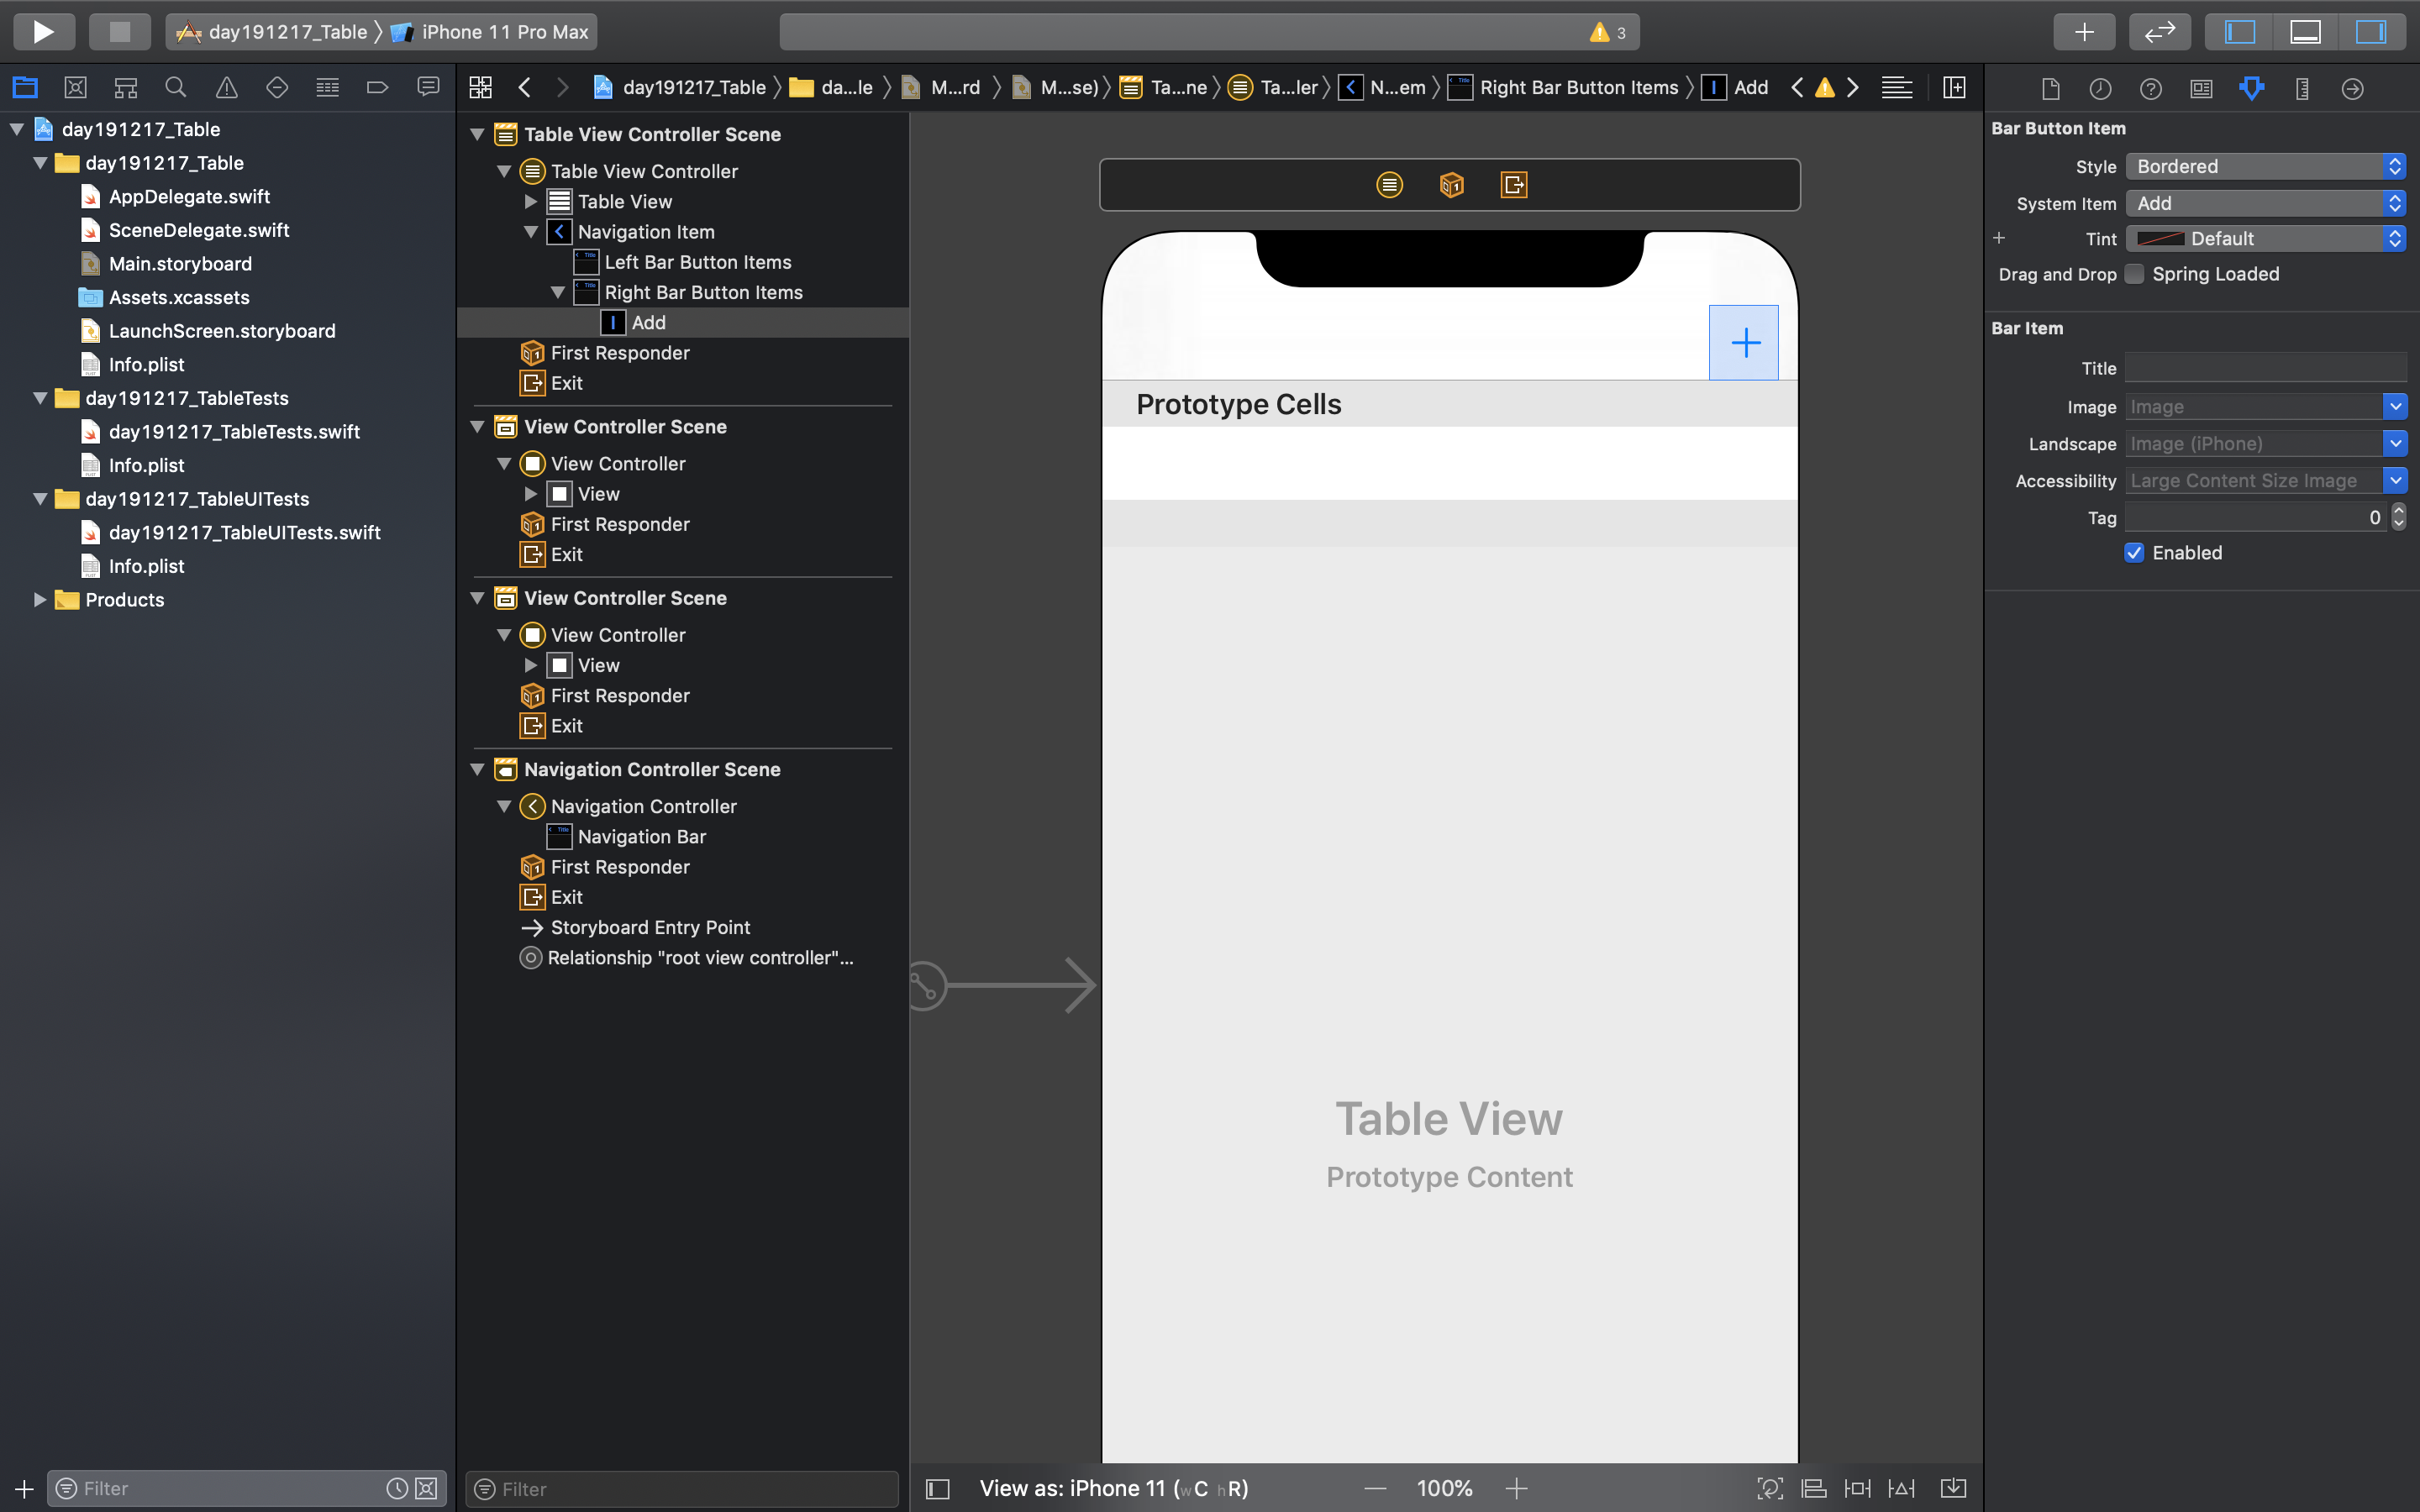
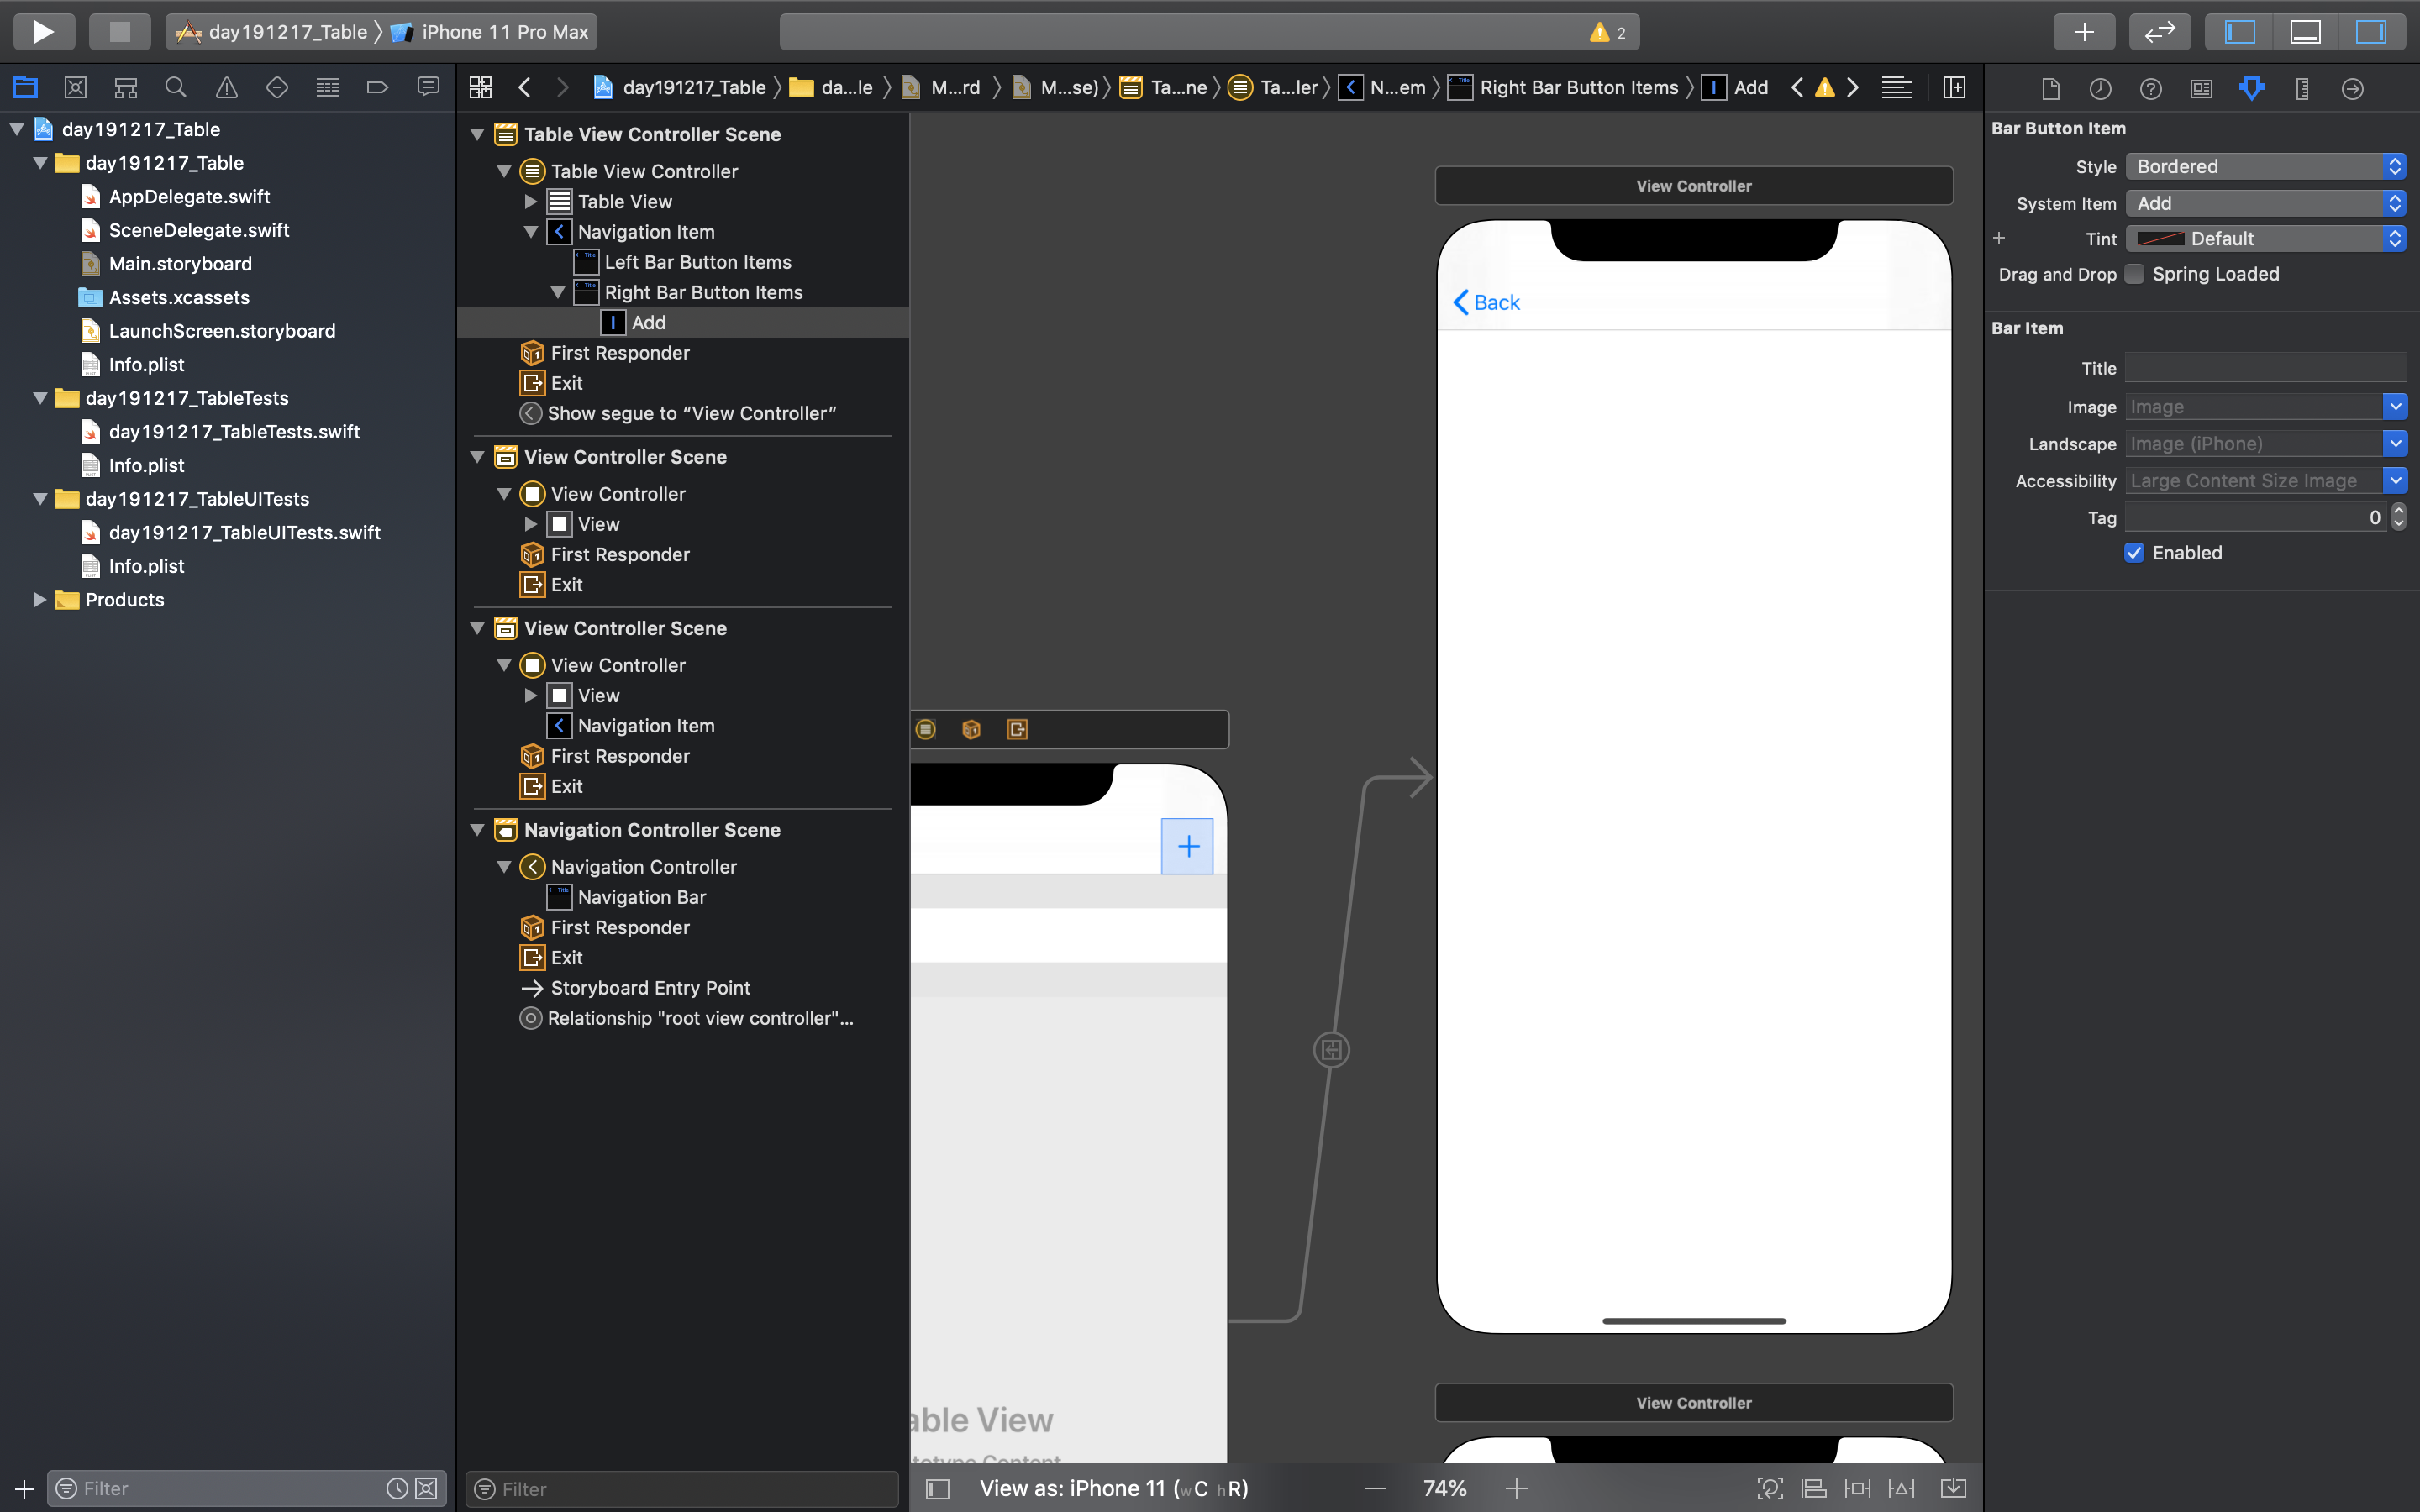
1) 테이블 뷰 컨트롤러(Table View Controller)에 Bar Button Item을 추가한다.
Attributes Inspector -> Bar Button Item -> System Item -> 'add'로 수정한다.


- 뷰 전환 추가하기
2) 바 버튼 아이템(Bar Button Item)과 오른쪽 위 뷰 컨트롤러(View Controller)를 연결한다.
Action Segue -> 'Show' 선택


- 뷰 전환 추가하기
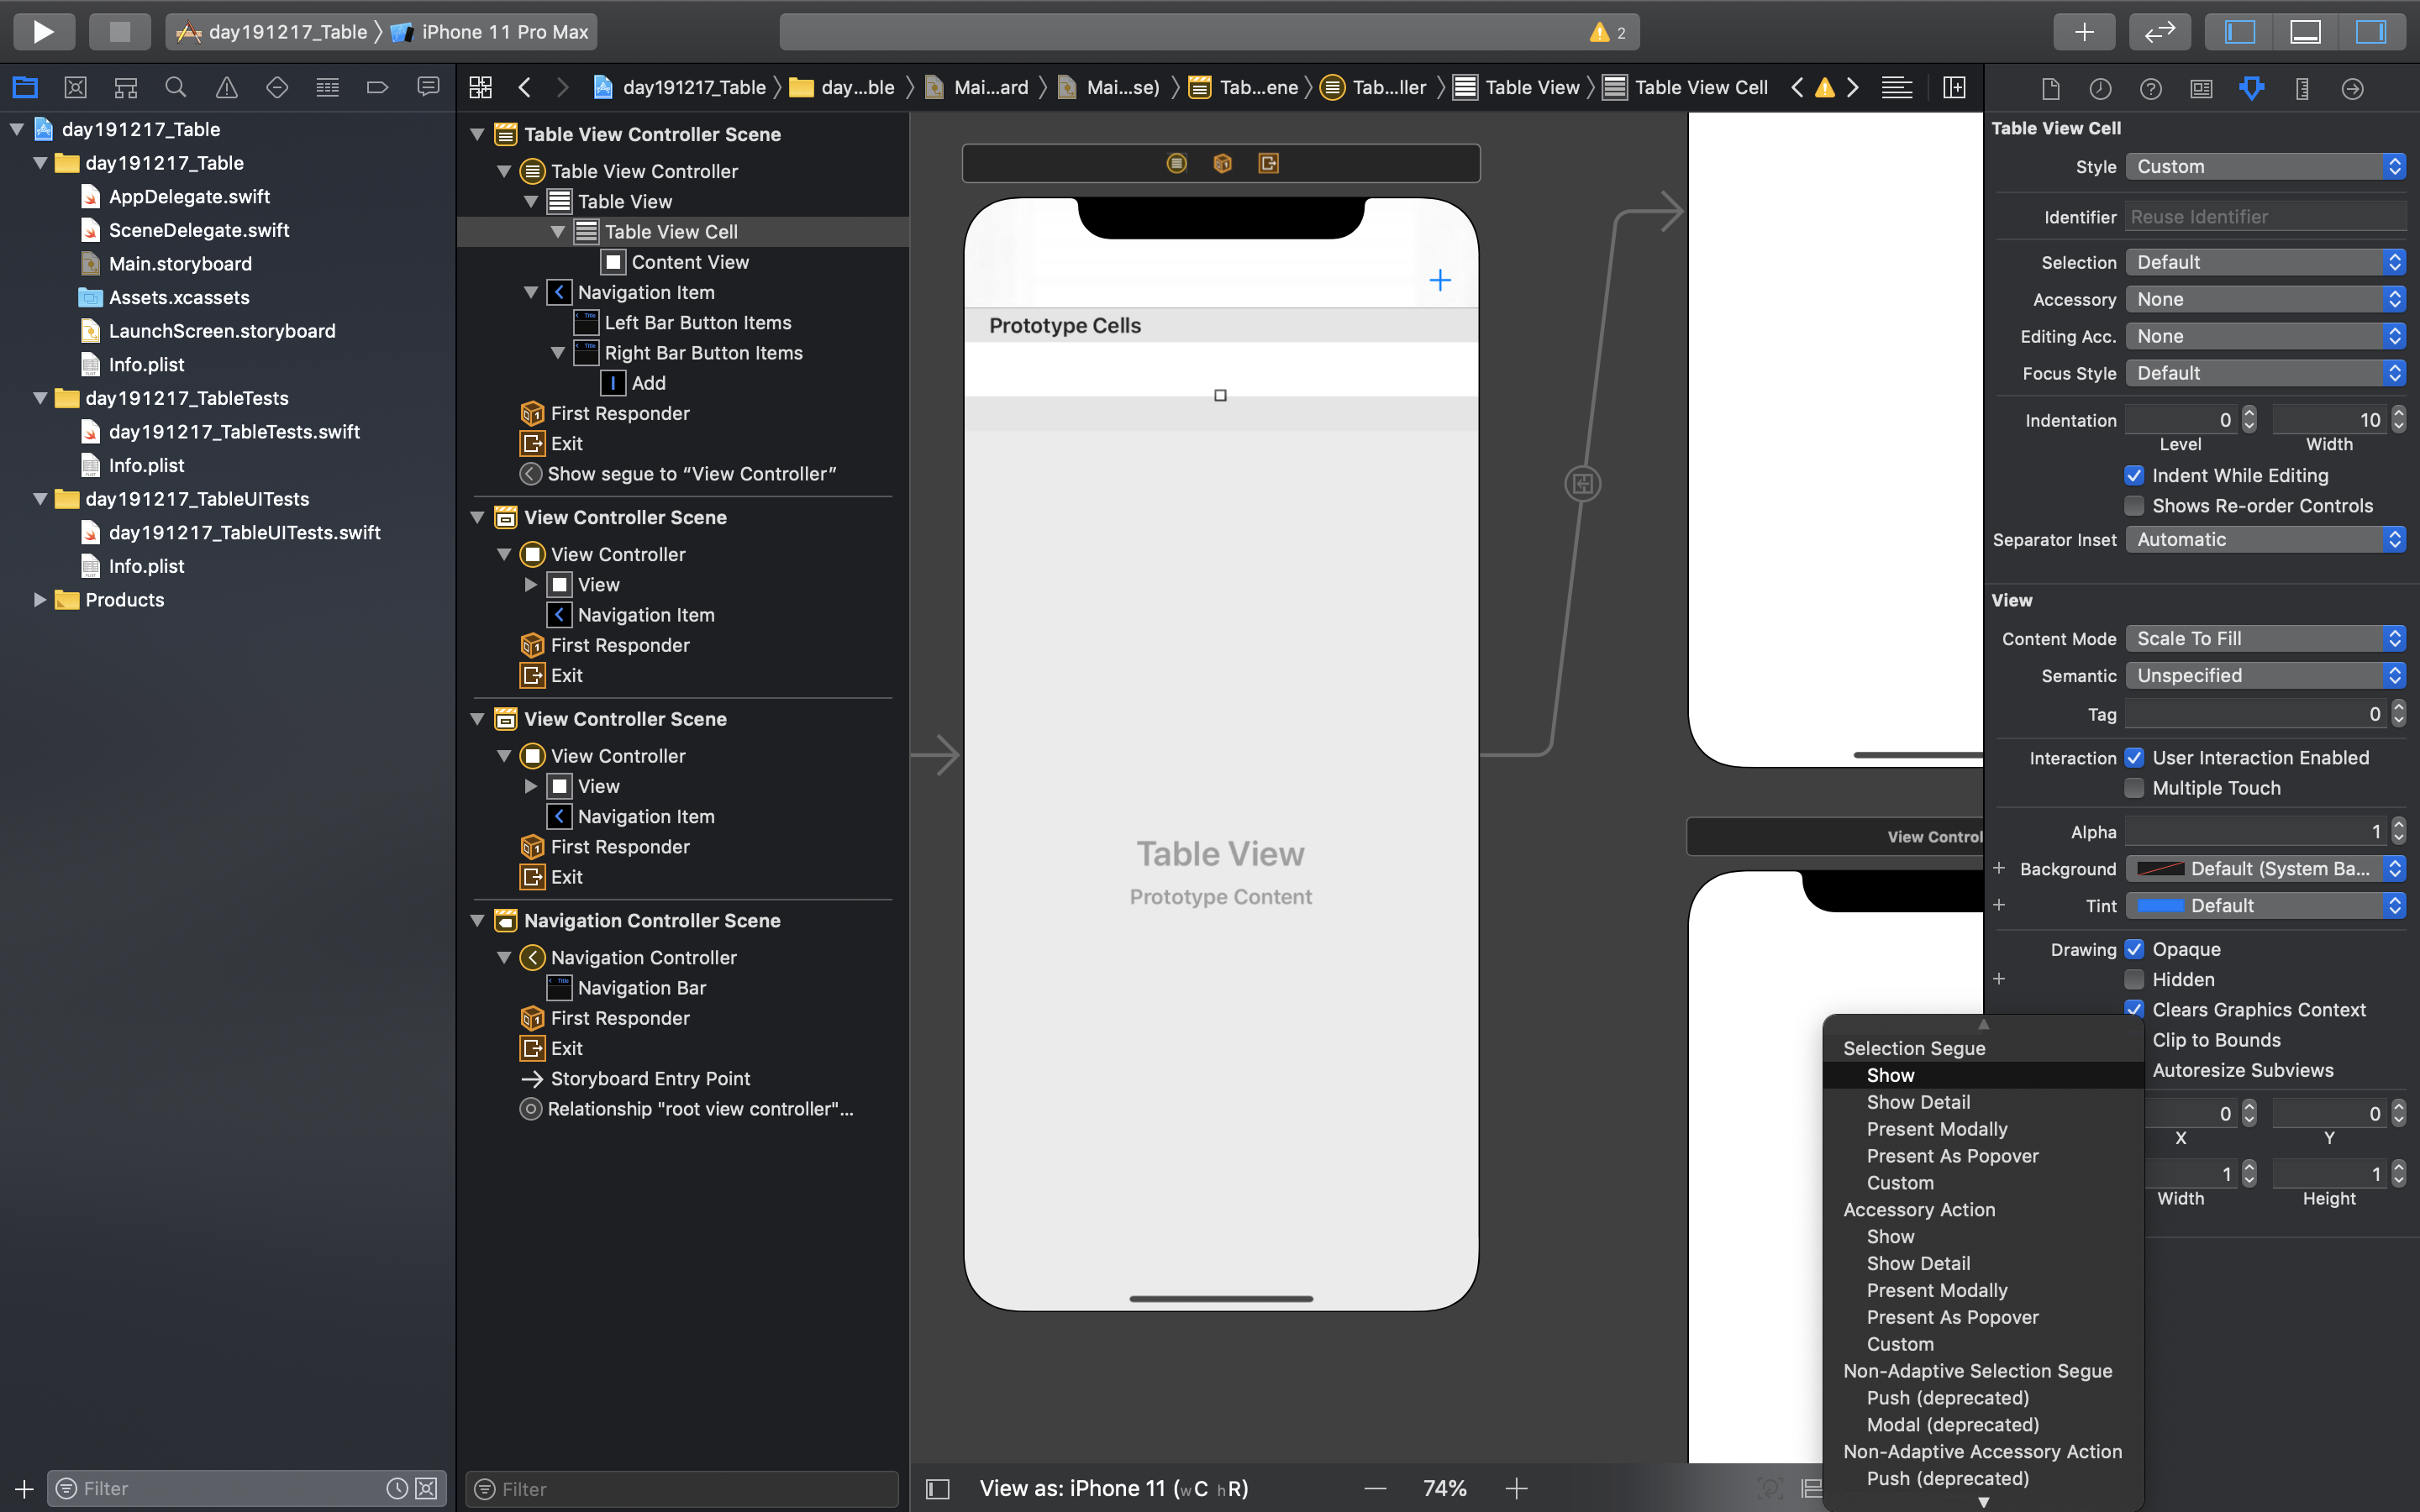
3) 테이블 뷰 컨트롤러의 Prototype Cells 와 오른쪽 아래 뷰 컨트롤러(View Controller)를 연결한다.
Selection Segue -> 'Show' 선택

- 뷰 전환 추가하기
4) 아래 쪽 세그웨이(Segue) 선택 -> Attributes Inspector -> Identifier -> 'sgDetail' 입력
뷰가 전환 될 때 전달한 데이터가 있다면 여기서 지정한 세그웨이 이름을 활용한다.

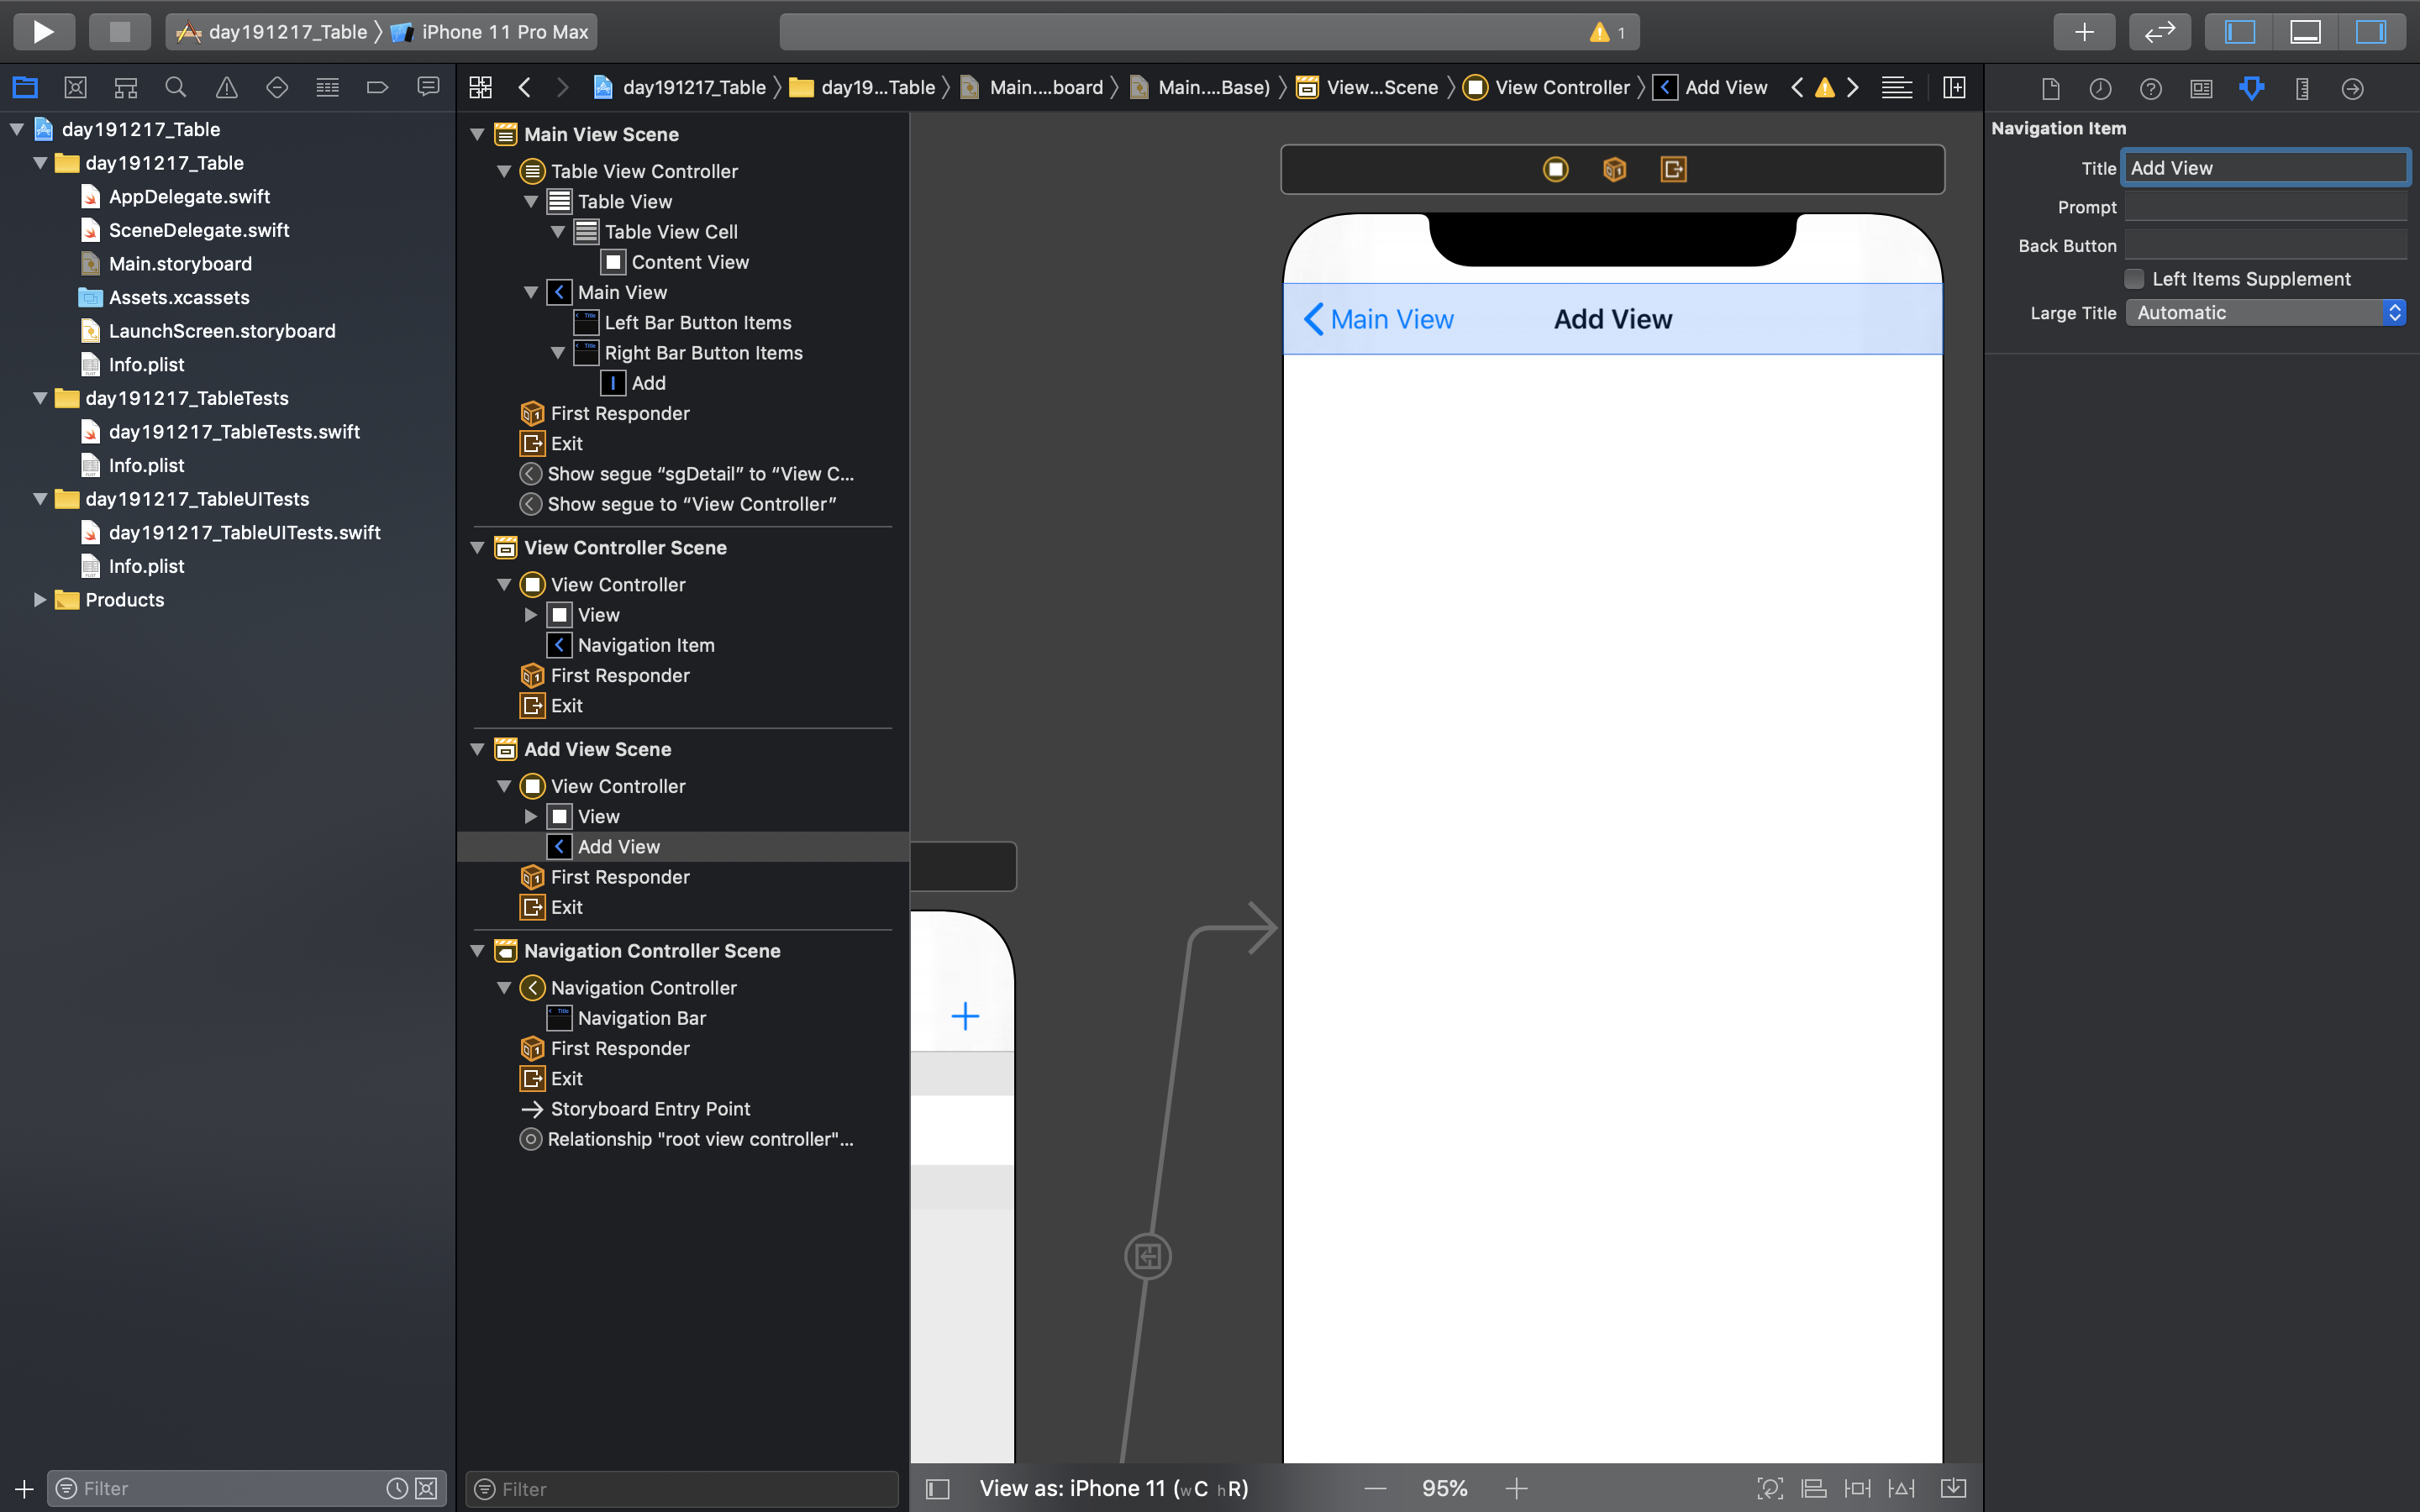

- 테이블 뷰 컨트롤러(Table View Controller) 타이틀 추가하기
Table View Controller - 'Main View'
View Controller(오른쪽 위) - 'Add View'
View Controller(오른쪽 아래) - 'Detail View'
- 컴포턴트 추가하기
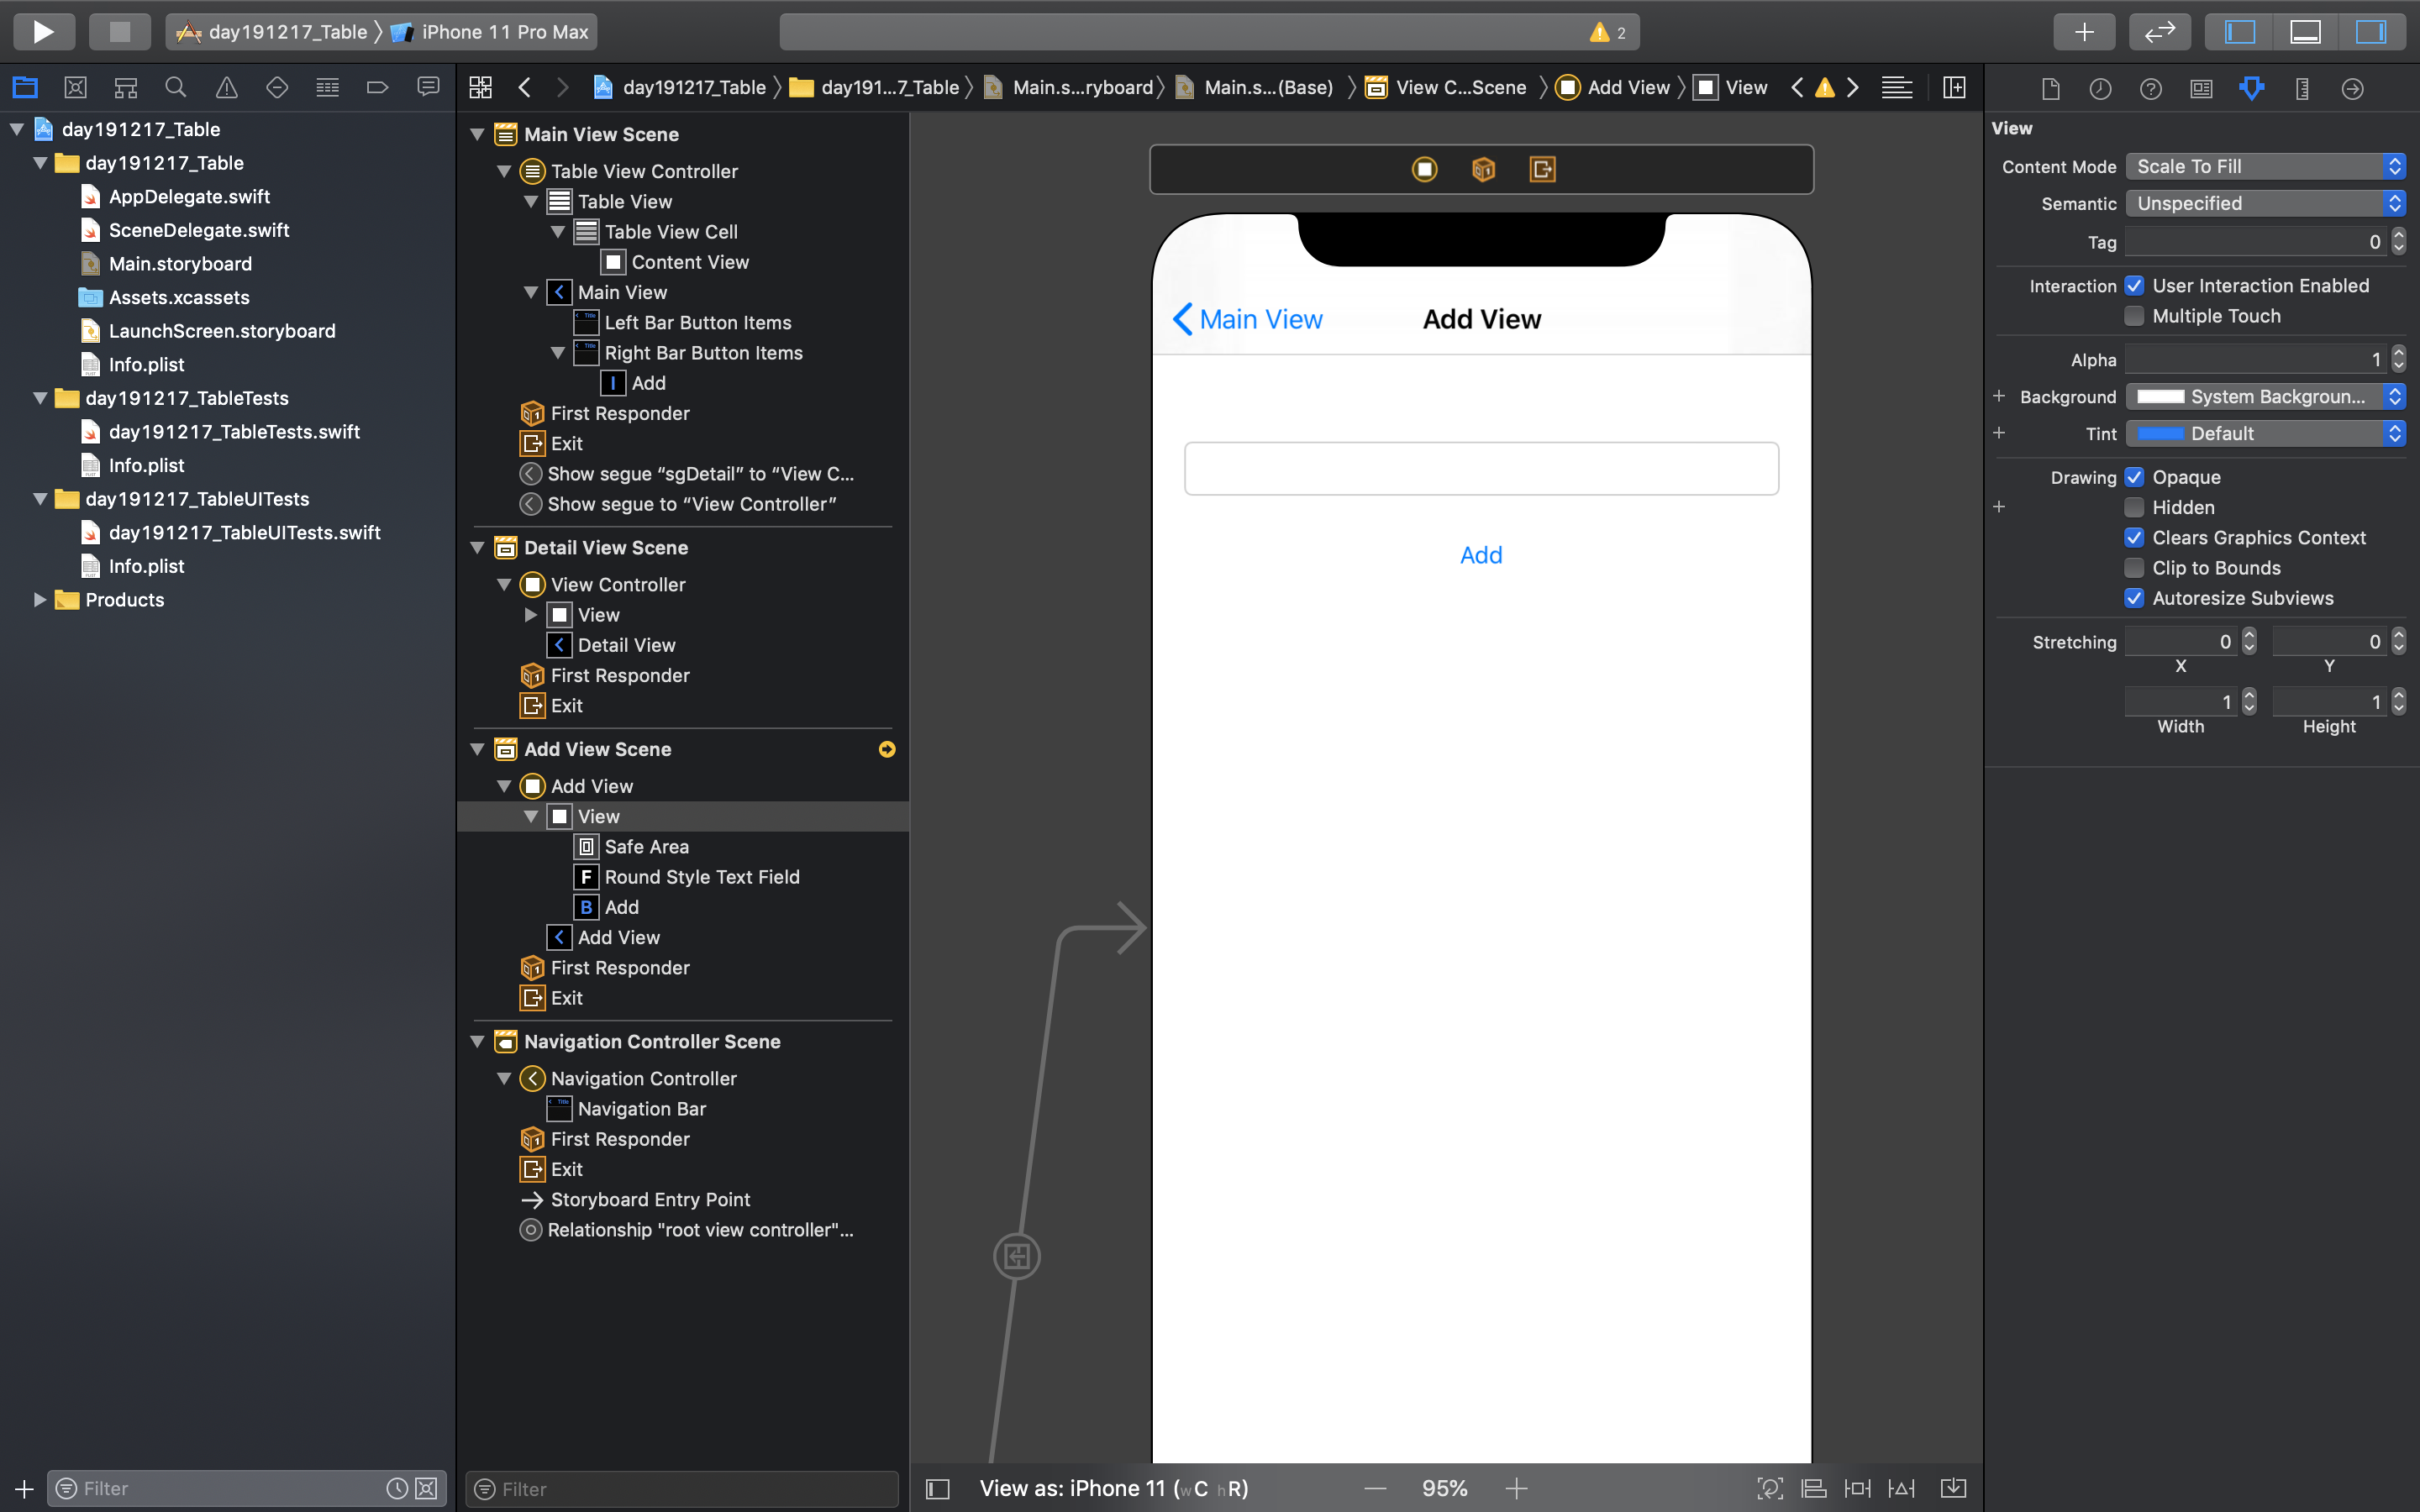
1) 'Add View' 뷰 컨트롤러에 Text Field, 'Add' button을 추가한다.

- 컴포턴트 추가하기
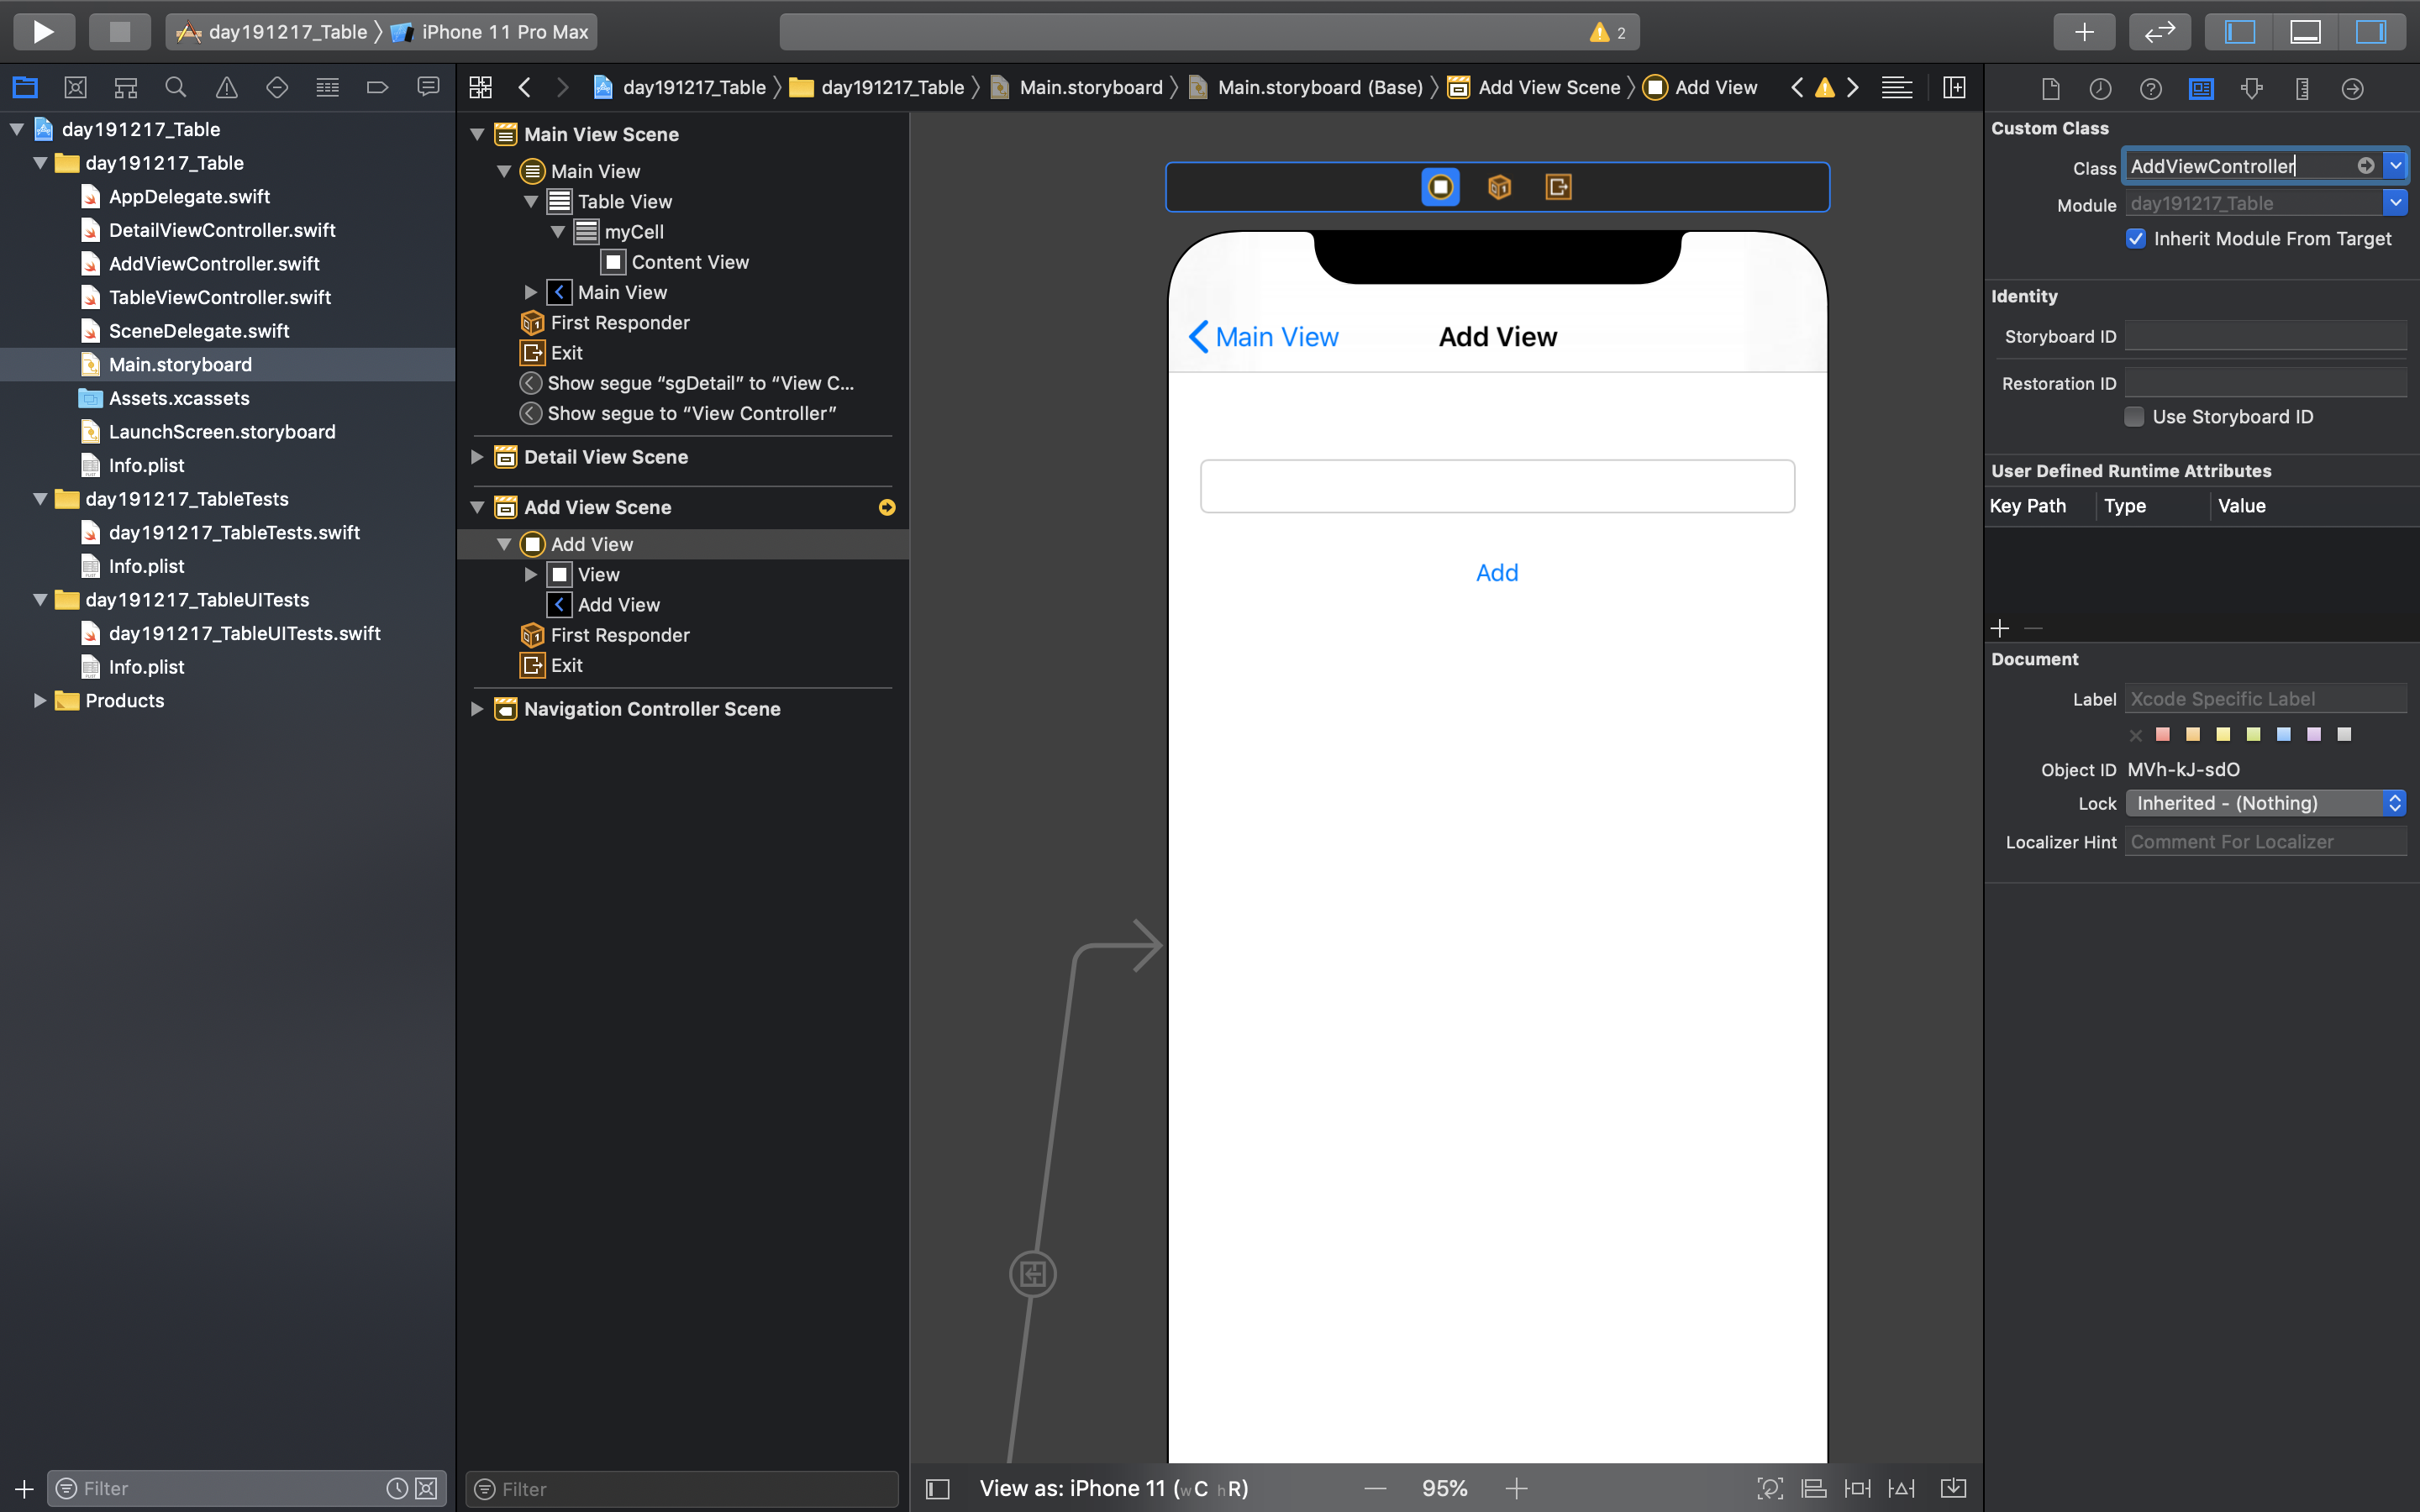
2) 'Detail View' 뷰 컨트롤러에 label 추가한다.
Attribute Inspector -> Alignment -> 가운데 정렬(두번째 아이콘)

- 테이블 뷰에 셀 추가하기
Attribute Inspector -> Identifer -> 'myCell' 입력


- 스위프트 파일 추가하기
1) New File... -> iOS -> Cocoa Touch Class -> Class : 'TableViewController' / Subclass of : 'UITableViewController' -> 저장
2) New File... -> iOS -> Cocoa Touch Class -> Class : 'AddViewController' / Subclass of : 'UIViewController' -> 저장
3) New File... -> iOS -> Cocoa Touch Class -> Class : 'DetailViewController' / Subclass of : 'UIViewController' -> 저장


- 뷰 컨트롤러와 스위프트 파일 연결하기
'Main View' Controller -> Identity Inspector -> Custom Class -> Class -> 'TableViewController' 선택
'Add View' Controller -> Identity Inspector -> Custom Class -> Class -> 'AddViewController' 선택
'Detail View' Controller -> Identity Inspector -> Custom Class -> Class -> 'DetailViewController' 선택


- 아웃렛 변수, 액션 함수 추가하기
1) 'Main View'
Table View -> 'tvListView'(아웃렛 변수)


- 아웃렛 변수, 액션 함수 추가하기
2) 'Add View'
TextField -> 'tfAddItem'(아웃렛 변수)
'Add' button -> 'btnAddItem'(액션 함수)


- 아웃렛 변수, 액션 함수 추가하기
3) 'Detail View'
Label -> 'lblItem'(아웃렛 변수)


- 이미지 파일 추가하기
전체 소스 보기
|
1
2
3
4
5
6
7
8
9
10
11
12
13
14
15
16
17
18
19
20
21
22
23
24
25
26
27
28
29
30
31
32
33
34
35
36
37
38
39
40
41
42
43
44
45
46
47
48
49
50
51
52
53
54
55
56
57
58
59
60
61
62
63
64
65
66
67
68
69
70
71
72
73
74
75
76
77
78
79
80
81
82
83
84
85
86
87
88
89
90
91
92
93
94
95
96
97
98
99
100
101
102
103
104
105
106
107
108
109
110
111
112
113
114
115
116
117
118
119
120
121
122
123
124
|
//
// TableViewController.swift
// day191217_Table
//
// Created by 무니 on 17/12/2019.
// Copyright © 2019 com.mooni. All rights reserved.
//
import UIKit
// 앱 시작 시 기본적으로 나타낼 목록
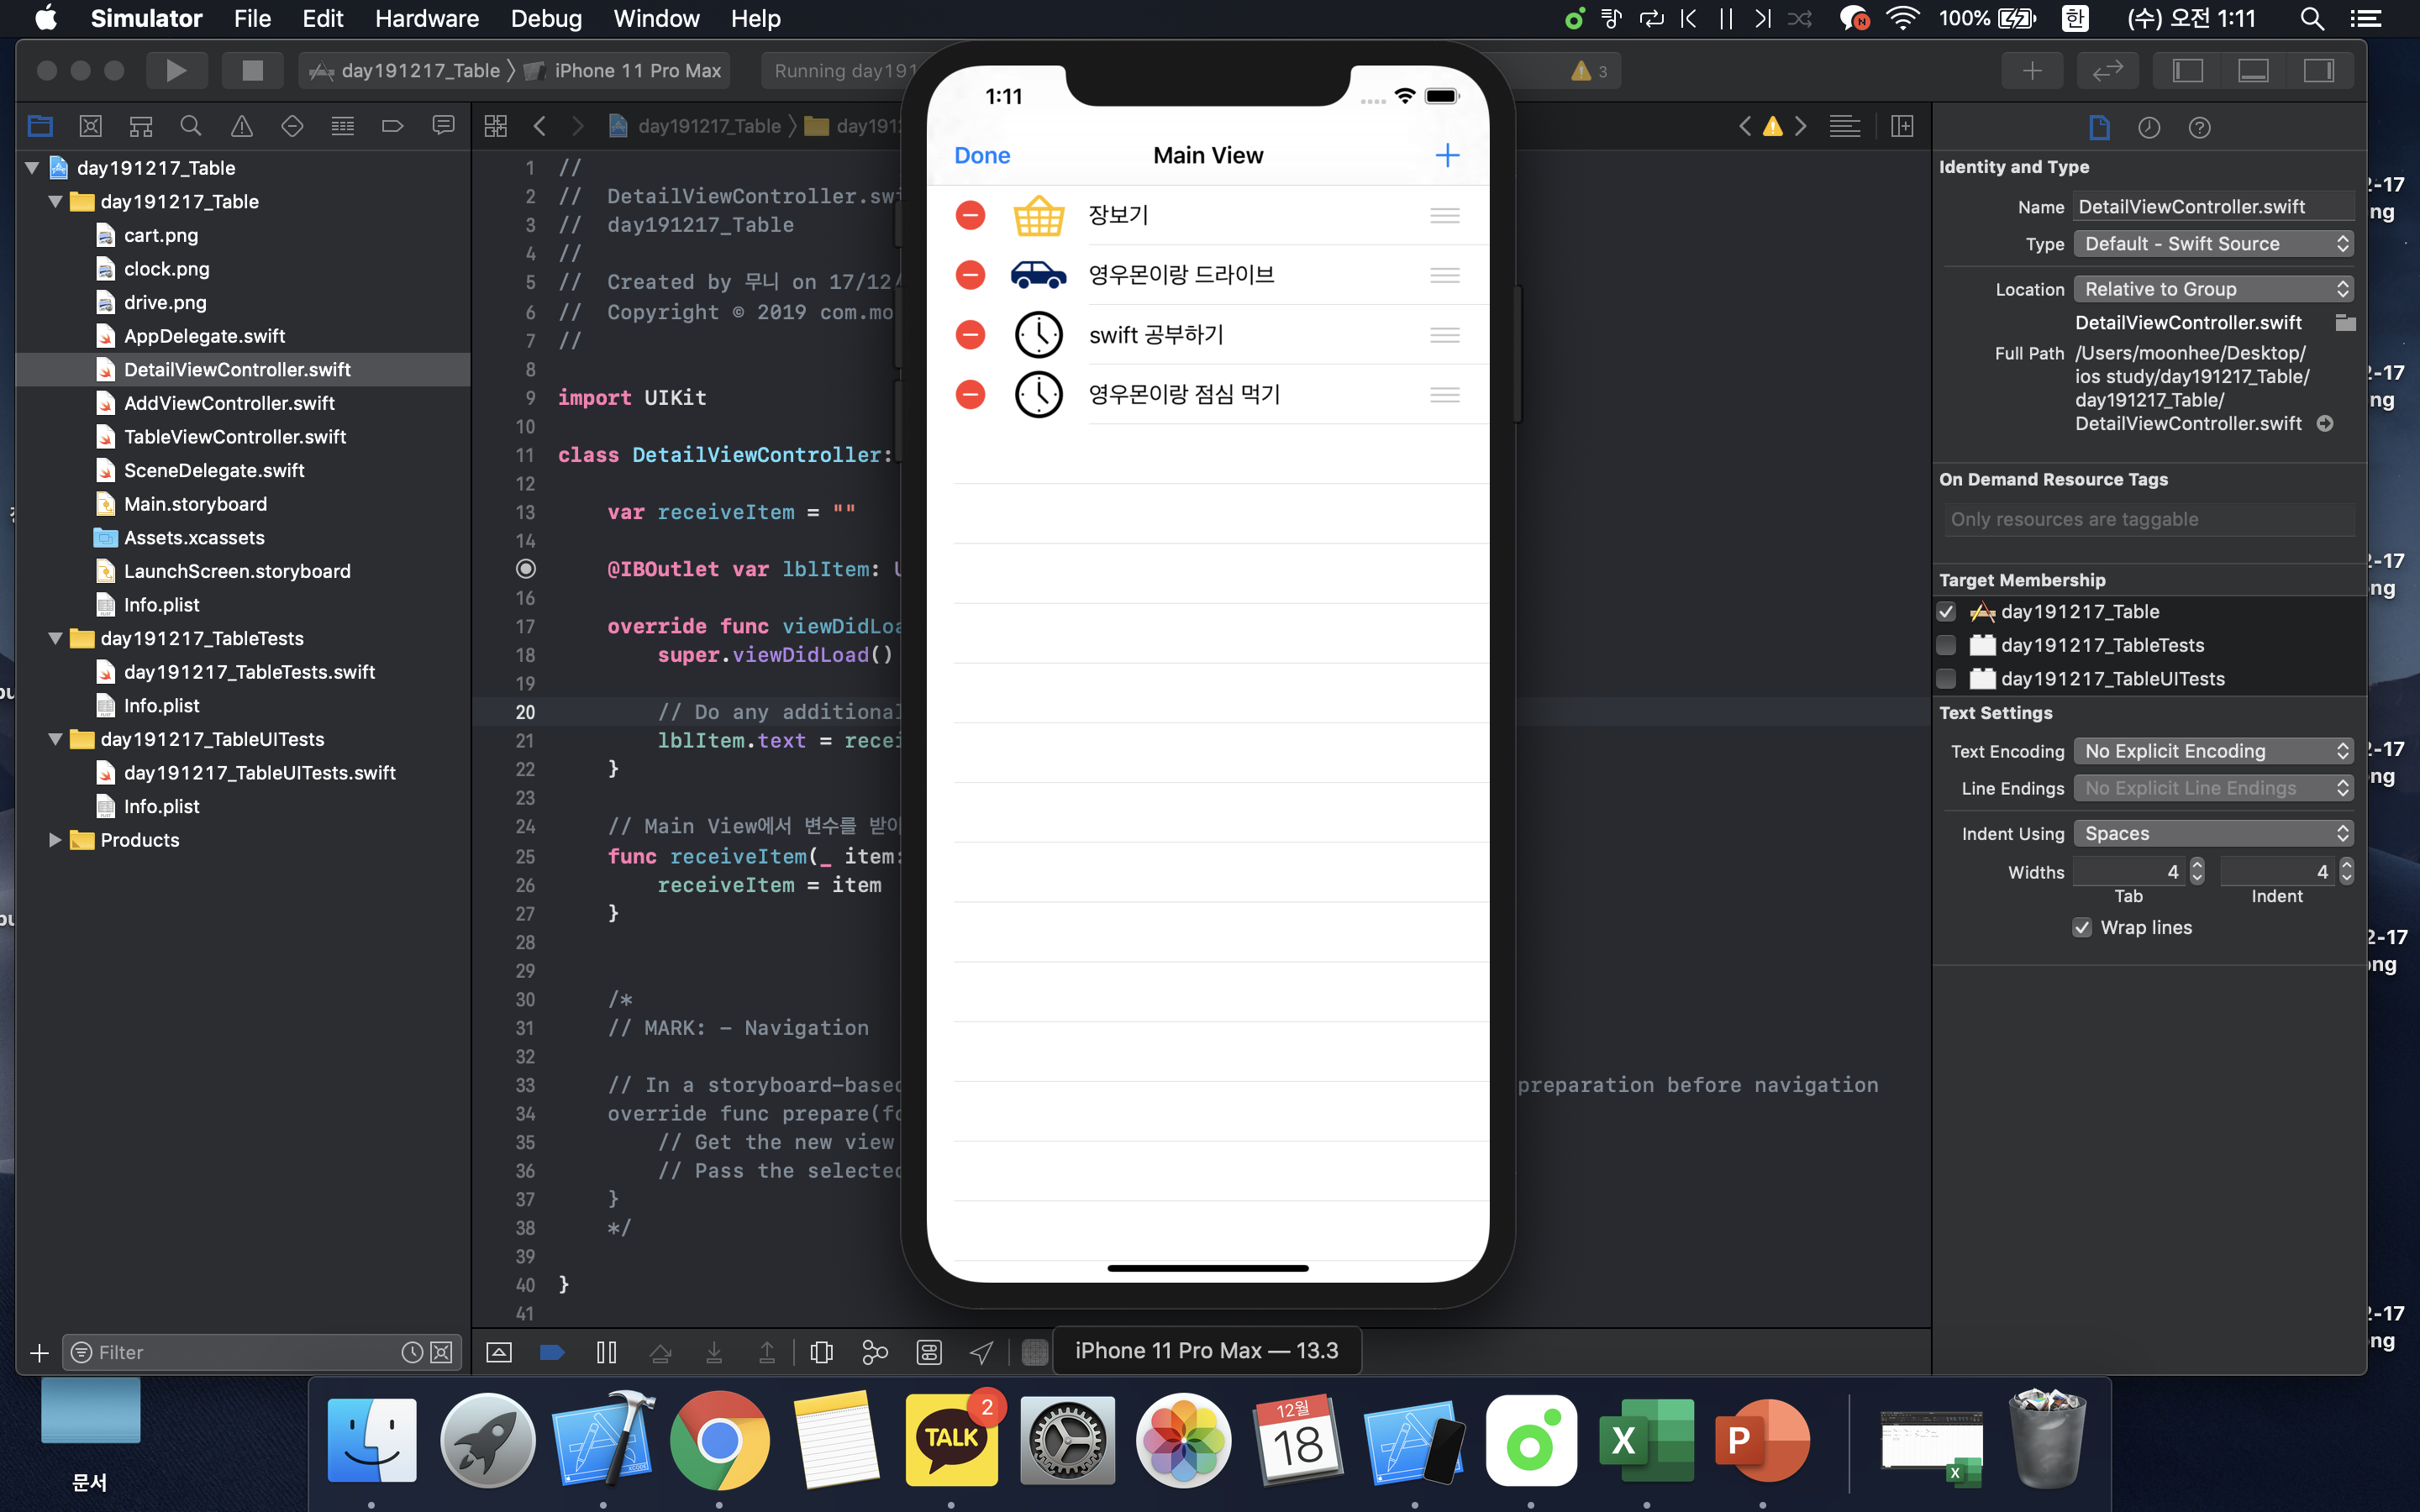
var items = ["장보기", "영우몬이랑 드라이브", "swift 공부하기"]
var itemsImageFile = ["cart.png", "drive.png", "clock.png"]
class TableViewController: UITableViewController {
@IBOutlet var tvListView: UITableView!
override func viewDidLoad() {
super.viewDidLoad()
// Uncomment the following line to preserve selection between presentations
// self.clearsSelectionOnViewWillAppear = false
// Uncomment the following line to display an Edit button in the navigation bar for this view controller.
self.navigationItem.leftBarButtonItem = self.editButtonItem
}
// 뷰가 노출될 때마다 리스트의 데이터를 다시 불러옴
override func viewWillAppear(_ animated: Bool) {
tvListView.reloadData()
}
// MARK: - Table view data source
// 테이블 안의 섹션 개수를 1로 설정함
override func numberOfSections(in tableView: UITableView) -> Int {
// #warning Incomplete implementation, return the number of sections
return 1
}
// 섹션당 열의 개수를 전달
override func tableView(_ tableView: UITableView, numberOfRowsInSection section: Int) -> Int {
// #warning Incomplete implementation, return the number of rows
return items.count
}
// items와 itemsImageFile의 값을 셀에 삽입함
override func tableView(_ tableView: UITableView, cellForRowAt indexPath: IndexPath) -> UITableViewCell {
let cell = tableView.dequeueReusableCell(withIdentifier: "myCell", for: indexPath)
// Configure the cell...
cell.textLabel?.text = items[(indexPath as NSIndexPath).row]
cell.imageView?.image = UIImage(named: itemsImageFile[(indexPath as NSIndexPath).row])
return cell
}
/*
// Override to support conditional editing of the table view.
override func tableView(_ tableView: UITableView, canEditRowAt indexPath: IndexPath) -> Bool {
// Return false if you do not want the specified item to be editable.
return true
}
*/
// Override to support editing the table view.
// 목록 삭제 함수
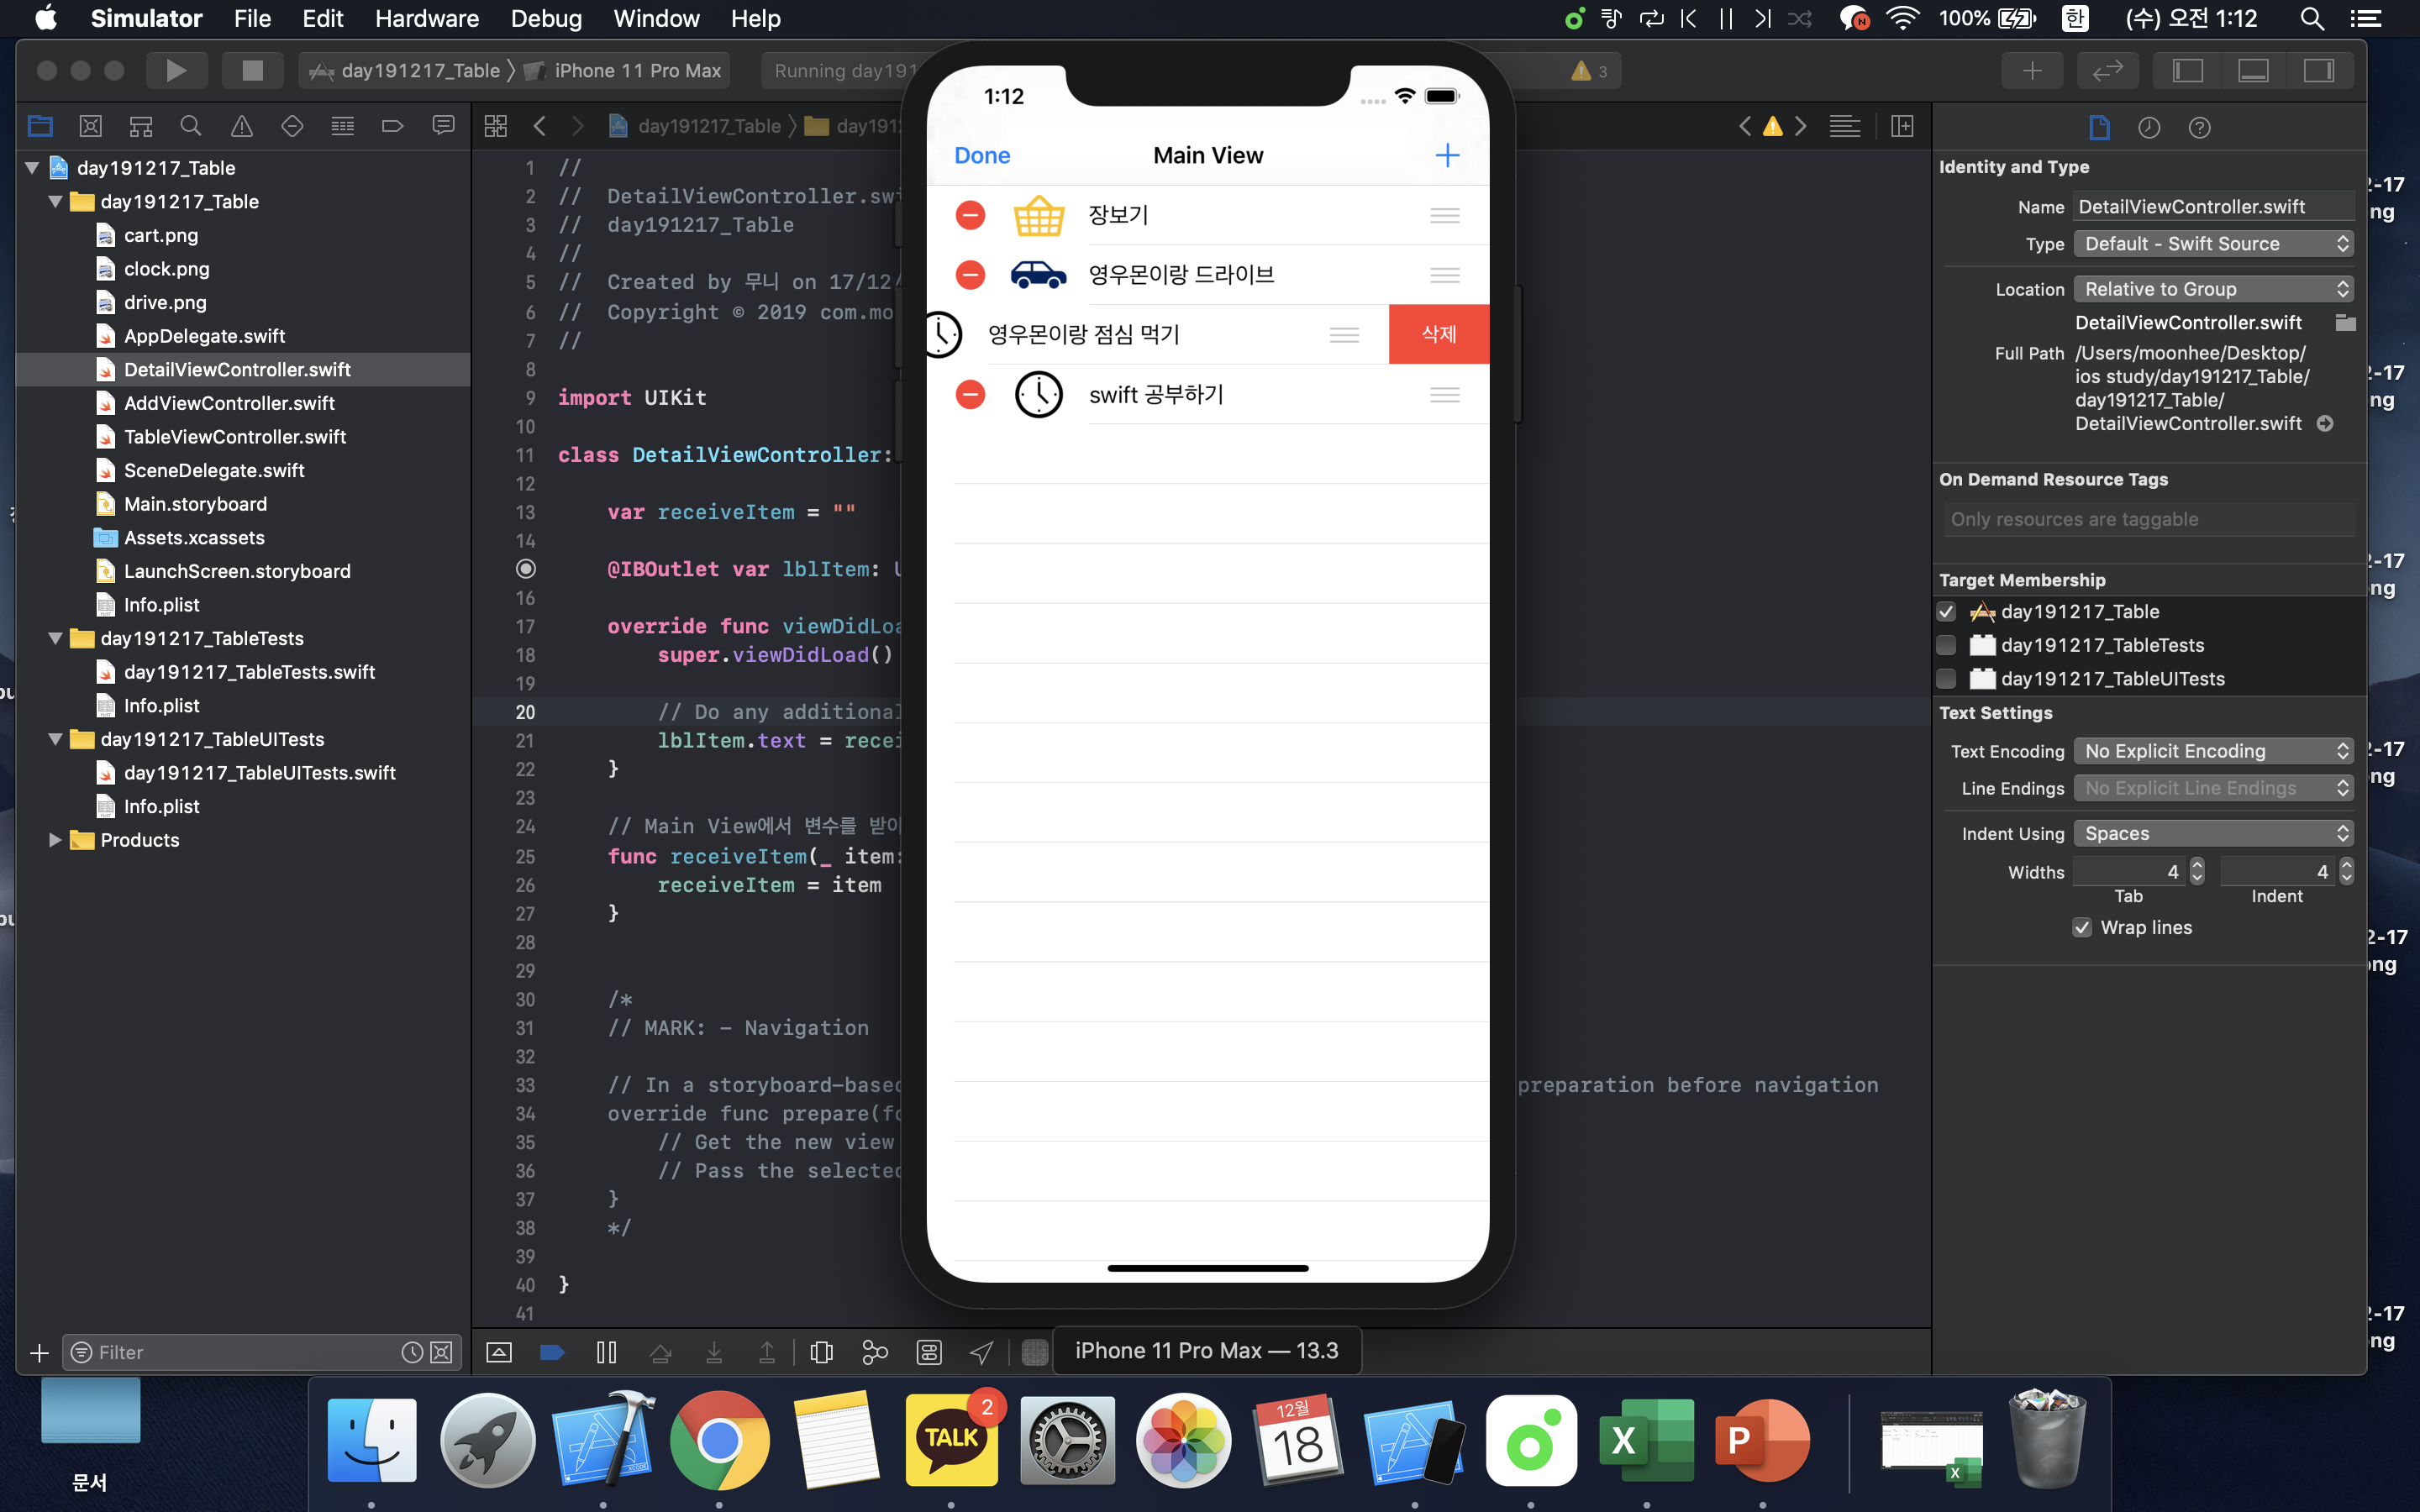
override func tableView(_ tableView: UITableView, commit editingStyle: UITableViewCell.EditingStyle, forRowAt indexPath: IndexPath) {
if editingStyle == .delete {
// Delete the row from the data source
items.remove(at: (indexPath as NSIndexPath).row)
itemsImageFile.remove(at: (indexPath as NSIndexPath).row)
tableView.deleteRows(at: [indexPath], with: .fade)
} else if editingStyle == .insert {
// Create a new instance of the appropriate class, insert it into the array, and add a new row to the table view
}
}
// 삭제 시 "Delete" 대신 "삭제"로 표시
override func tableView(_ tableView: UITableView, titleForDeleteConfirmationButtonForRowAt indexPath: IndexPath) -> String? {
return "삭제"
}
// Override to support rearranging the table view.
// 목록 순서 바꾸기
override func tableView(_ tableView: UITableView, moveRowAt fromIndexPath: IndexPath, to: IndexPath) {
let itemToMove = items[(fromIndexPath as NSIndexPath).row]
let itemImageToMove = itemsImageFile[(fromIndexPath as NSIndexPath).row]
items.remove(at: (fromIndexPath as NSIndexPath).row)
itemsImageFile.remove(at: (fromIndexPath as NSIndexPath).row)
items.insert(itemToMove, at: (to as NSIndexPath).row)
itemsImageFile.insert(itemImageToMove, at: (to as NSIndexPath).row)
}
/*
// Override to support conditional rearranging of the table view.
override func tableView(_ tableView: UITableView, canMoveRowAt indexPath: IndexPath) -> Bool {
// Return false if you do not want the item to be re-orderable.
return true
}
*/
// MARK: - Navigation
// In a storyboard-based application, you will often want to do a little preparation before navigation
// 세그웨이를 이용하여 디테일 뷰로 전환하기
override func prepare(for segue: UIStoryboardSegue, sender: Any?) {
// Get the new view controller using segue.destination.
// Pass the selected object to the new view controller.
if segue.identifier == "sgDetail" {
let cell = sender as! UITableViewCell
let indexPath = self.tvListView.indexPath(for: cell)
let detailView = segue.destination as! DetailViewController
detailView.receiveItem(items[((indexPath as NSIndexPath?)?.row)!])
}
}
}
|
cs |
|
1
2
3
4
5
6
7
8
9
10
11
12
13
14
15
16
17
18
19
20
21
22
23
24
25
26
27
28
29
30
31
32
33
34
35
36
37
38
39
40
|
//
// AddViewController.swift
// day191217_Table
//
// Created by 무니 on 17/12/2019.
// Copyright © 2019 com.mooni. All rights reserved.
//
import UIKit
class AddViewController: UIViewController {
@IBOutlet var tfAddItem: UITextField!
override func viewDidLoad() {
super.viewDidLoad()
// Do any additional setup after loading the view.
}
// 새 목록 추가하기
@IBAction func btnAddItem(_ sender: UIButton) {
items.append(tfAddItem.text!)
itemsImageFile.append("clock.png")
tfAddItem.text = ""
_ = navigationController?.popViewController(animated: true)
}
/*
// MARK: - Navigation
// In a storyboard-based application, you will often want to do a little preparation before navigation
override func prepare(for segue: UIStoryboardSegue, sender: Any?) {
// Get the new view controller using segue.destination.
// Pass the selected object to the new view controller.
}
*/
}
|
cs |
|
1
2
3
4
5
6
7
8
9
10
11
12
13
14
15
16
17
18
19
20
21
22
23
24
25
26
27
28
29
30
31
32
33
34
35
36
37
38
39
40
41
|
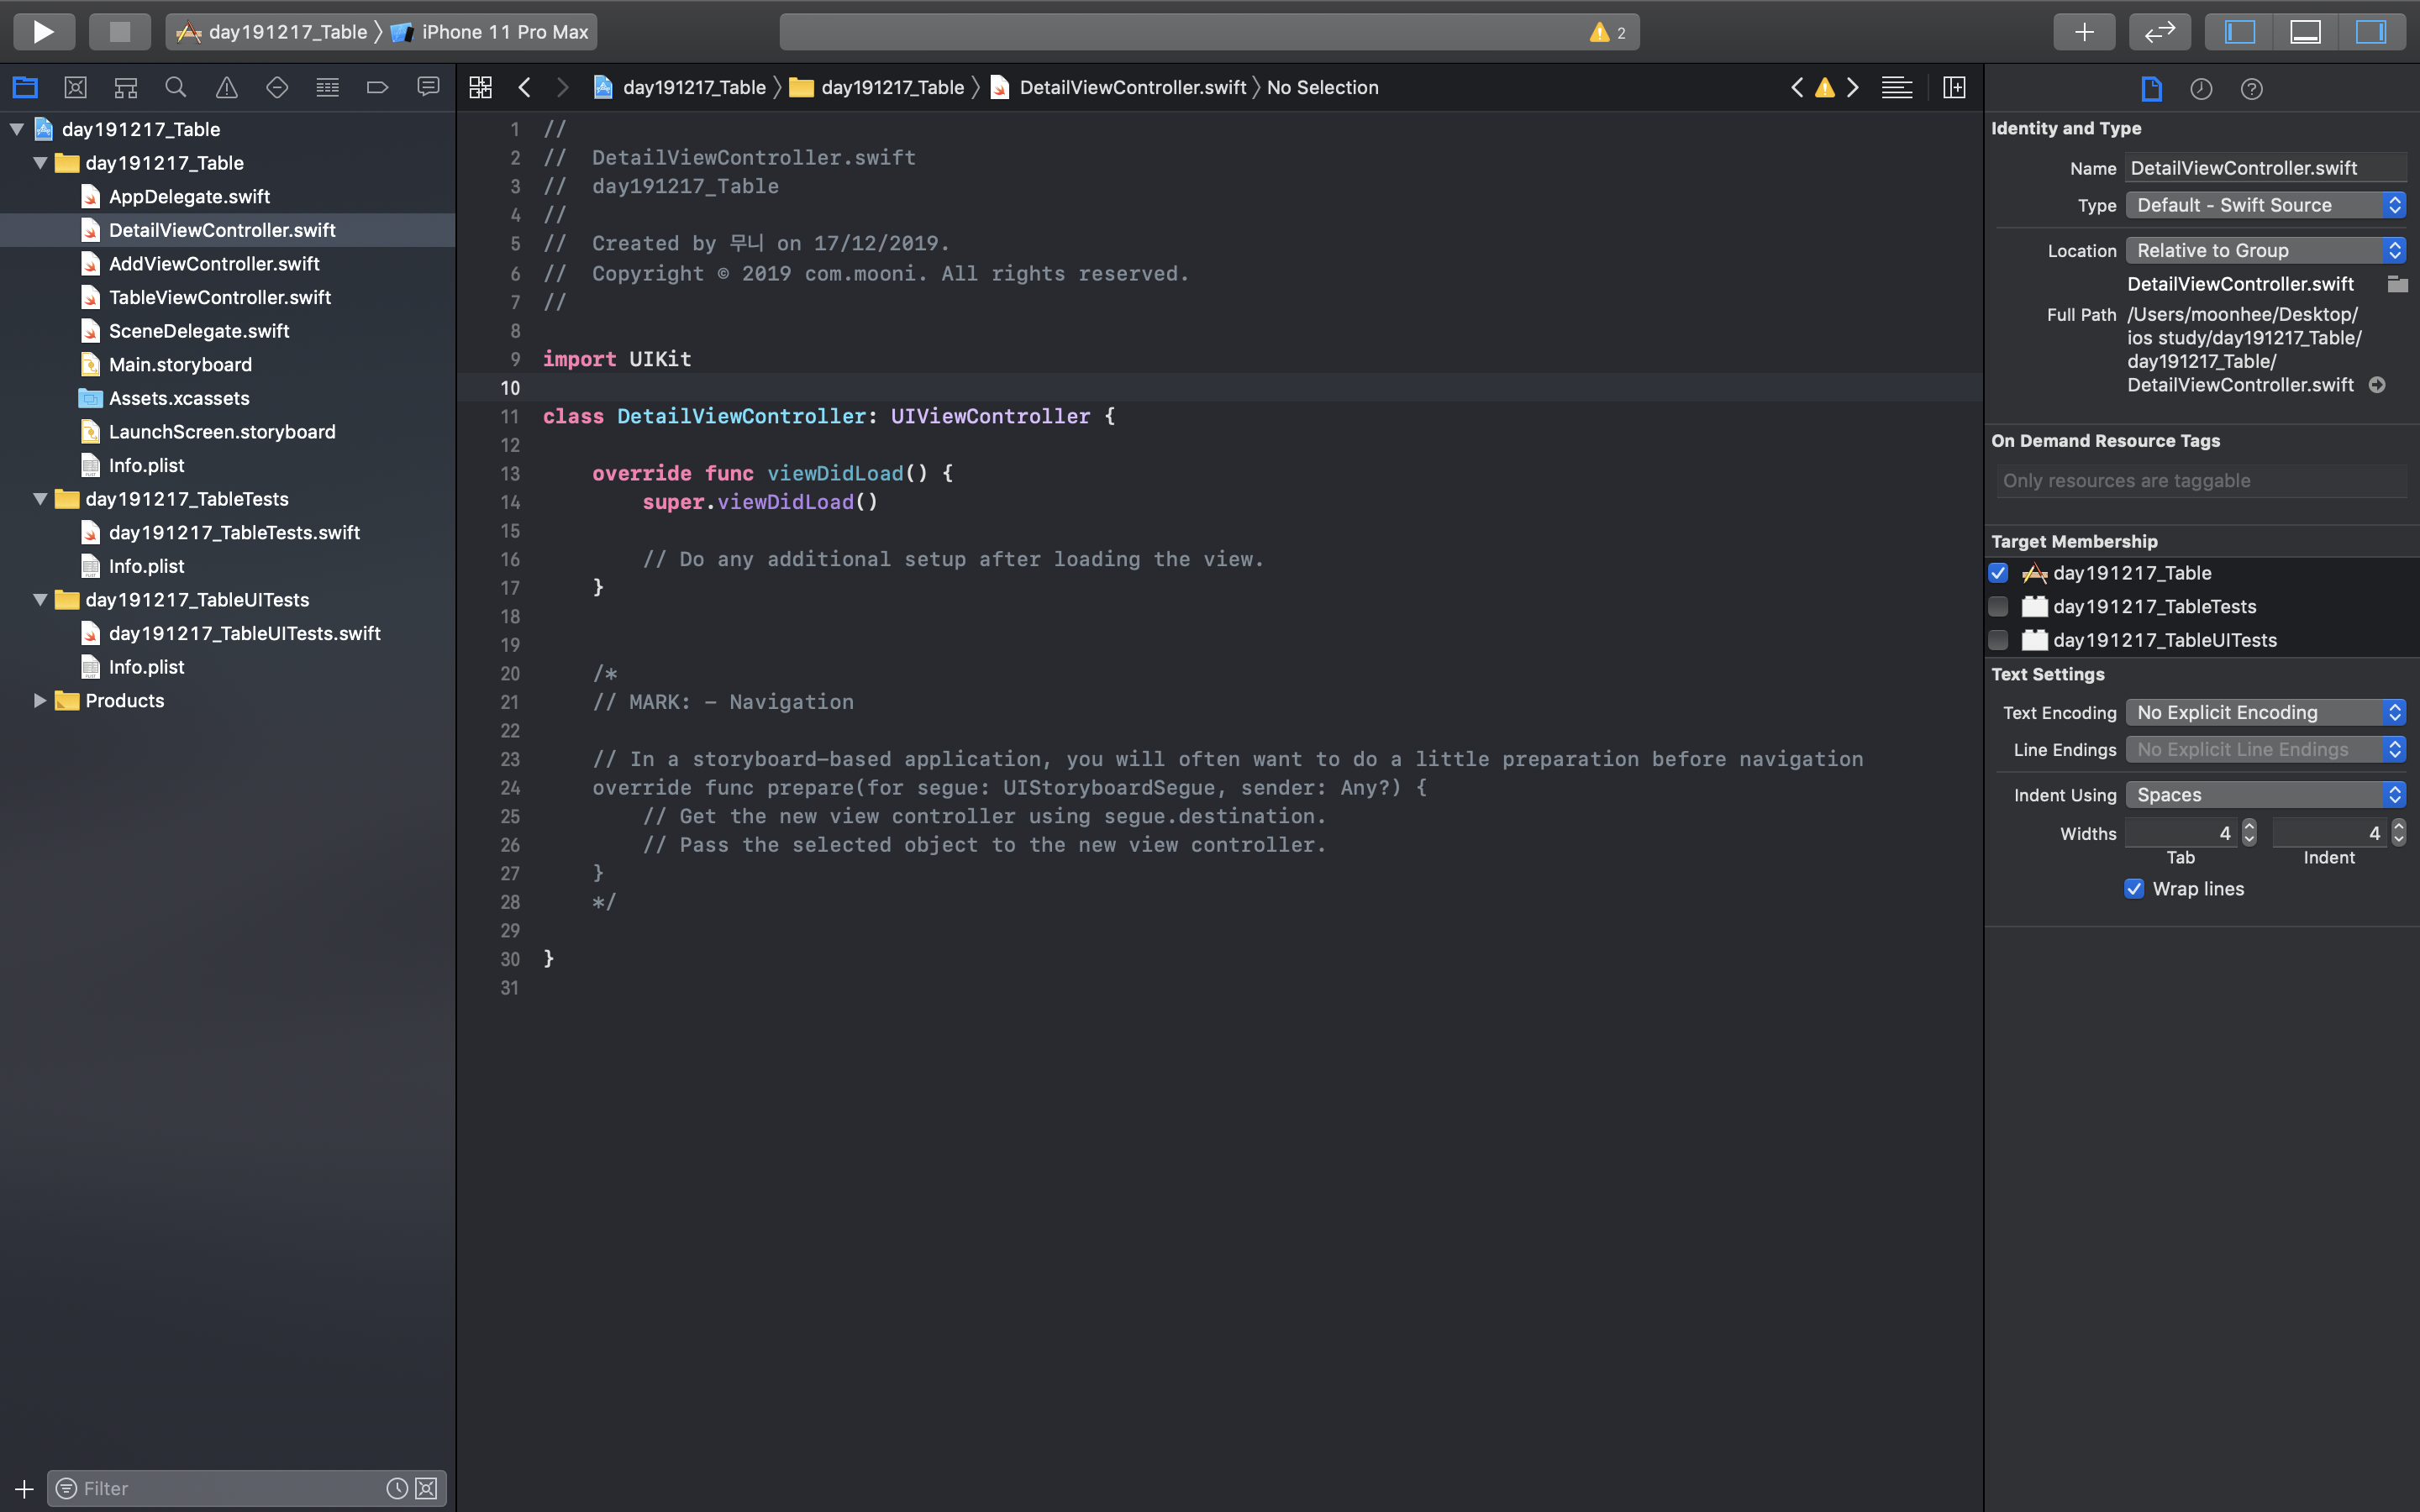
//
// DetailViewController.swift
// day191217_Table
//
// Created by 무니 on 17/12/2019.
// Copyright © 2019 com.mooni. All rights reserved.
//
import UIKit
class DetailViewController: UIViewController {
var receiveItem = ""
@IBOutlet var lblItem: UILabel!
override func viewDidLoad() {
super.viewDidLoad()
// Do any additional setup after loading the view.
lblItem.text = receiveItem
}
// Main View에서 변수를 받아오기 위한 함수
func receiveItem(_ item: String){
receiveItem = item
}
/*
// MARK: - Navigation
// In a storyboard-based application, you will often want to do a little preparation before navigation
override func prepare(for segue: UIStoryboardSegue, sender: Any?) {
// Get the new view controller using segue.destination.
// Pass the selected object to the new view controller.
}
*/
}
|
cs |
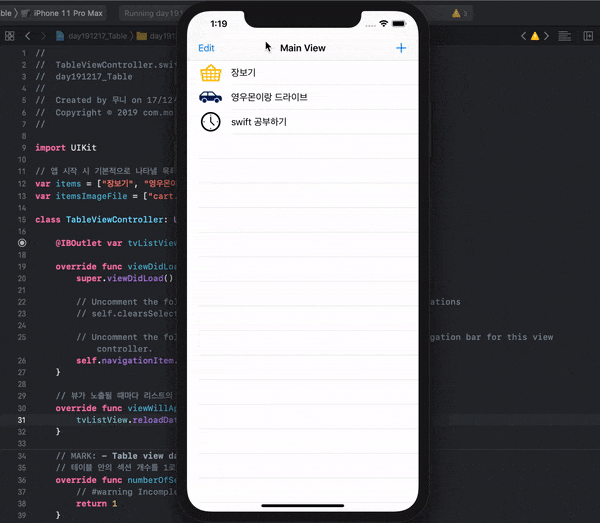
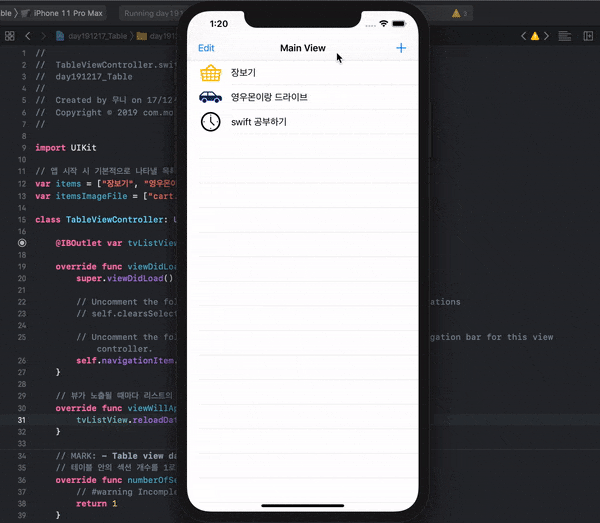
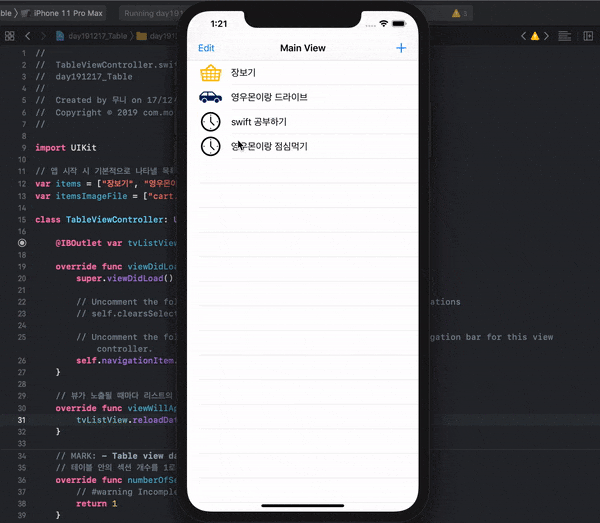
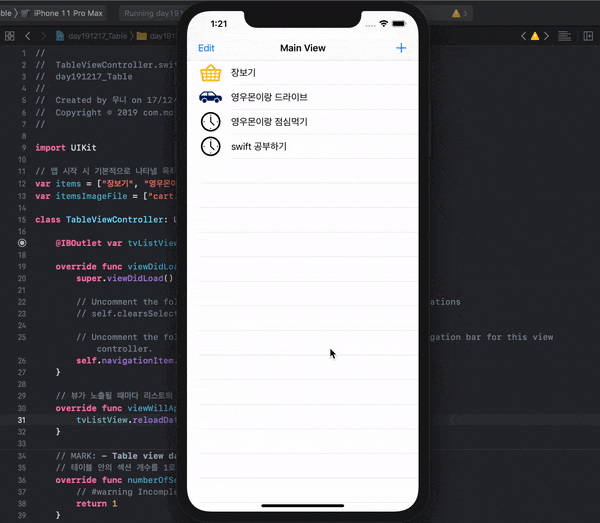
시뮬레이터 결과 화면


'IT > swift' 카테고리의 다른 글
| [iOS/swift] AVAudioPlayer 음악(오디오) 재생 및 녹음 앱 만들기 (0) | 2019.12.26 |
|---|---|
| [iOS/swift] 테이블 뷰 컨트롤러(Table View Controller) 할일 목록 앱v2, 아이콘 선택 기능 추가하기 (0) | 2019.12.23 |
| [iOS/swift] 내비게이션 컨트롤러 (Navigation Controller) 앱 v2, 이미지 확대 축소 기능 추가하기 (0) | 2019.12.17 |
| [iOS/swift] 아주 간단한 숫자 더하기 빼기 예제 앱 만들기 (0) | 2019.12.16 |
| [iOS/swift] Error - an internal error occurred. editing functionality may be limited. (0) | 2019.12.13 |